


Epson Accu laser M 1400 is a single function printer that can print in black and white with laser technology. It is most likely similar to the HP 1020 printer. It has only one connectivity option which is USB. Installing this M1400 printer on a computer is very simple, just download the driver and install it on your computer with the right directions.
To install this printer on your computer, you will require its driver. Download the latest version driver from the download section given below. You can download the same driver from its official website as well, both are the same drivers. After download, I suggest you read the installation guide as well which is also given beneath the download section to install this printer on your computer properly. So, let’s start the installation process by downloading the drivers first.
Download Epson AcuLaser M1400 Printer Driver
To download the m1400 driver, determine the operating system version of your computer and then click on the download link accordingly.
Epson AcuLaser M1400 driver download for Windows 11, 10, 8, 8.1, 7, Vista, XP (32bit / 64bit), Server 2000 to 2025, Linux, Ubuntu, and Mac 10.x, 11.x, 12.x, 13.x, 14.x, 15.x operating systems.
Driver for Epson AcuLaser M1400 Printer
Type: Full feature driver Operating System: Windows 11, 10, 8, 8.1, 7, Vista, Xp, Server 2000 to 2025 File Size: 326 MB Version: 6.0 Download DriverOR
You may download the same drivers from the Epson’s official website.
How to Install Epson AcuLaser M1400 Printer Driver
In order to install this printer on your computer, you will have to follow the following steps.
Step 1: If you are going to install this printer on a Windows 8 or later operating system like Windows 11, 10, Server 2016-2025 then you will have to disable the driver signature enforcement option – this is a really important step. If you don’t disable it then you won’t get the 17th step. Here I have made a video tutorial on how to disable the driver signature enforcement option. Must watch it before start the install process.
Step 1.1: Right-click on the driver file and click on extract to. Basically unzip the driver file. If you don’t have this driver file, download it from the above given download section.

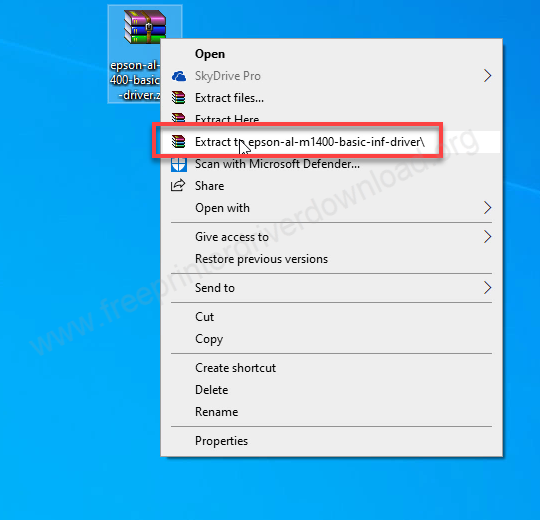
Step 2: It will extract all the driver files into a folder which is created at the same location.

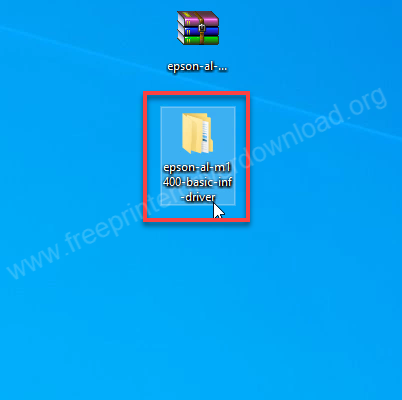
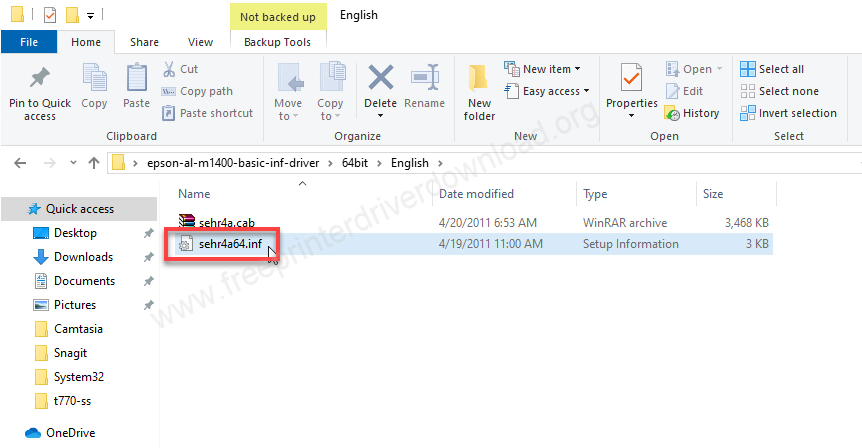
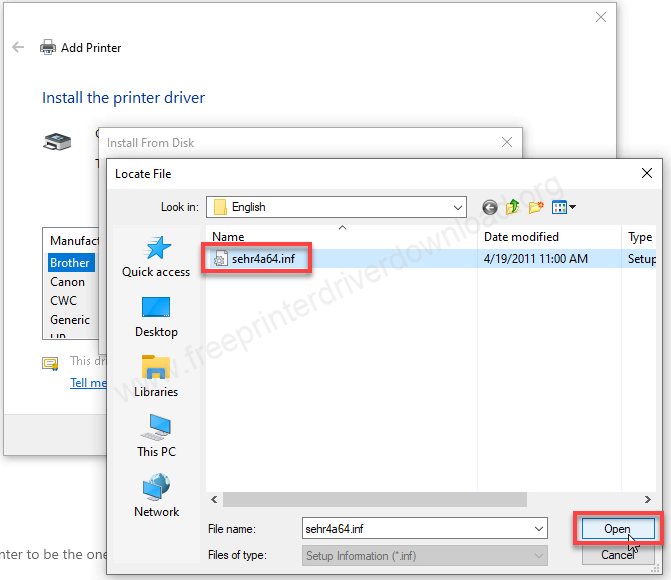
Step 3: Open the folder and you will 32bit and 64bit folder there, go to the folder according to your system type (32bit or 64bit) and you will see “sehr4a64.inf” file. This is the file that you will have to choose when the manual installation process will ask you for the drivers.

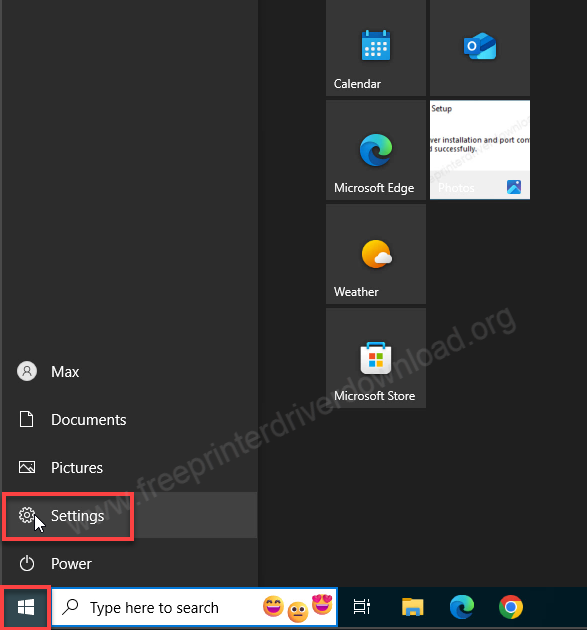
Step 4: To install the drivers manually, click on the Start button and then click on Settings.

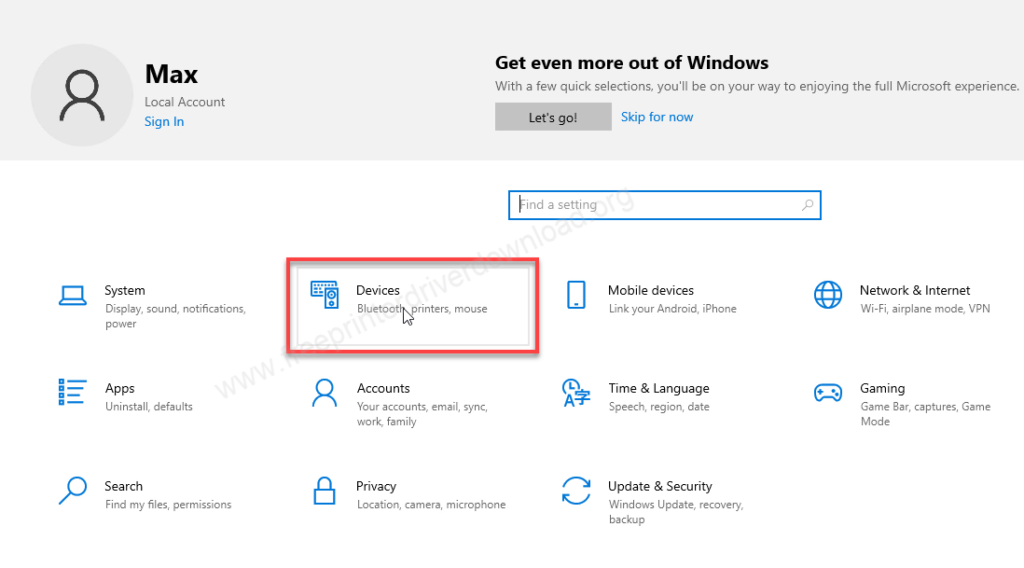
Step 5: Click on “Devices”.

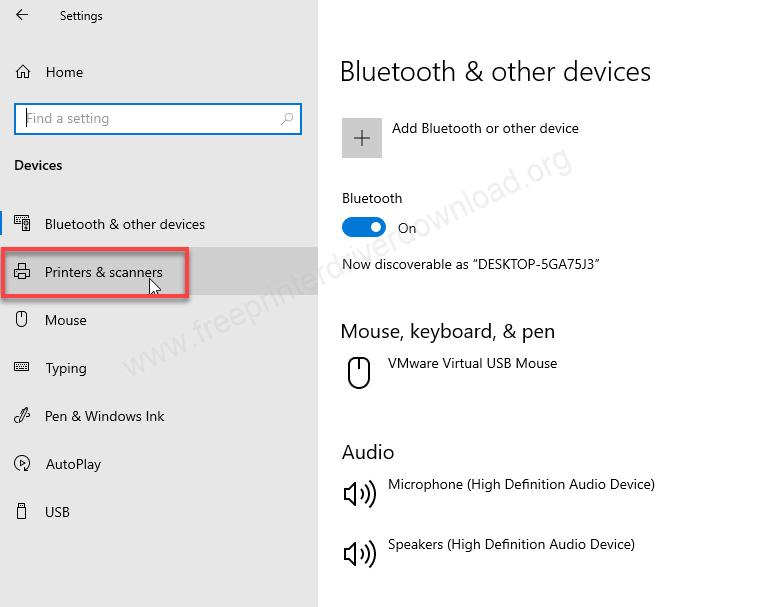
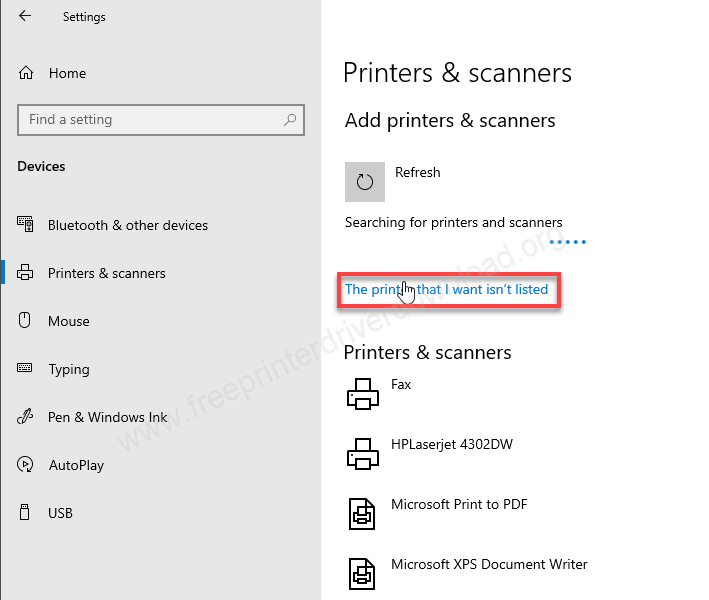
Step 6: Click on “printers & scanners” from the left side pane.

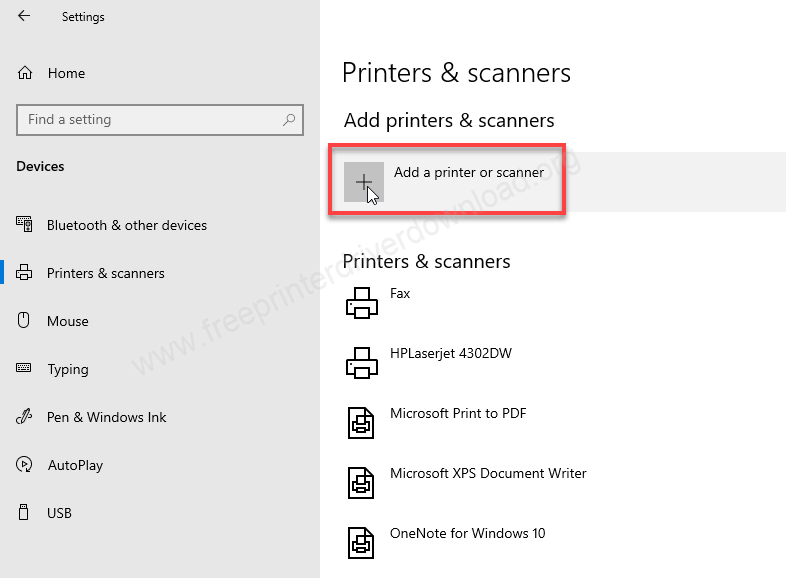
Step 7: Click on the plus icon of “Add a printer or scanner”. It will start searching for the printer.

Step 8: Click on the link “The printer that I want is not listed”

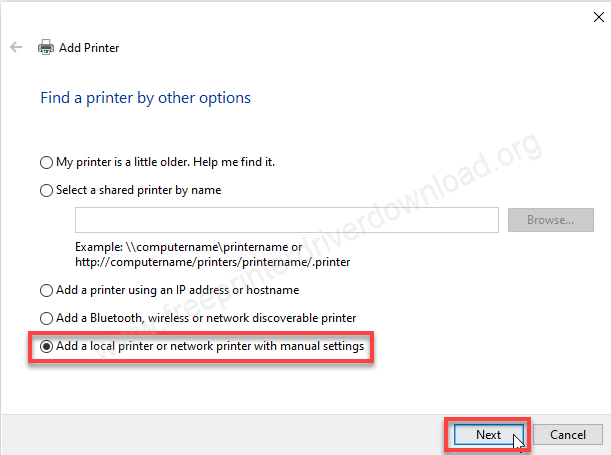
Step 9: Choose the last option “Add a local printer & network printer with manual settings” and click on Next.

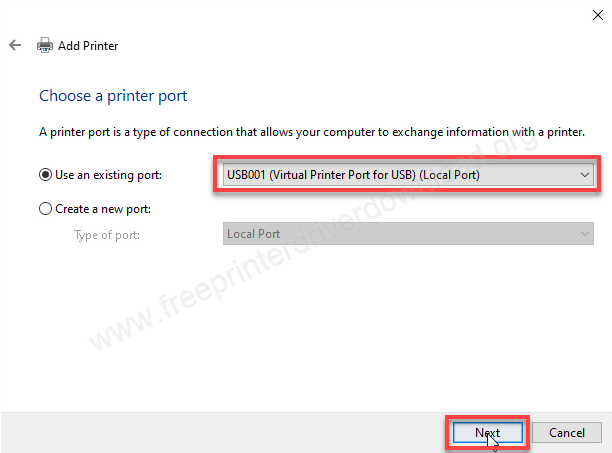
Step 10: Select the printer port: USB001 and then click on Next.

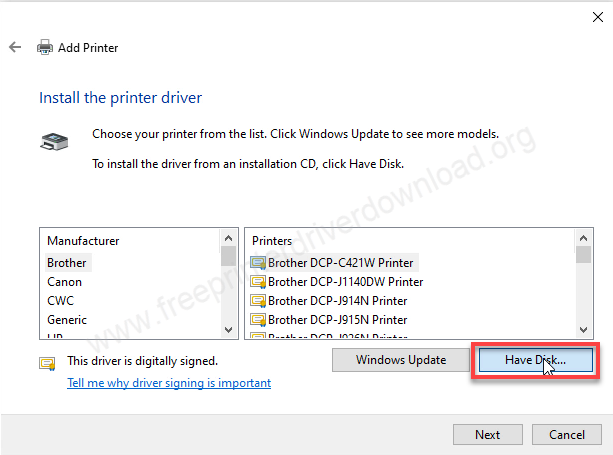
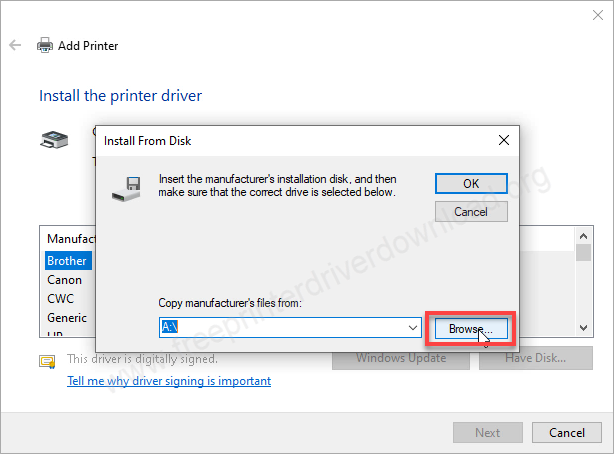
Step 11: Now, it is asking for the driver, please click on “Have Disk.”

Step 12: Click on browse and go to the location where you have extracted the drivers, then choose 32bit or 64bit folder and then go to the folder English.

Step 13: In the English folder, you will see sehr4a64.inf file and click on open.

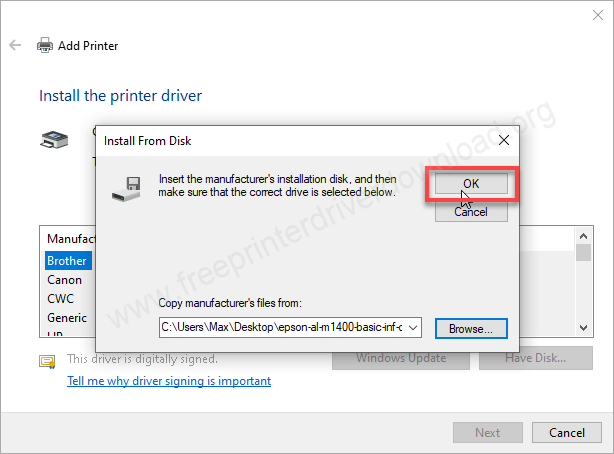
Step 14: Click on OK.
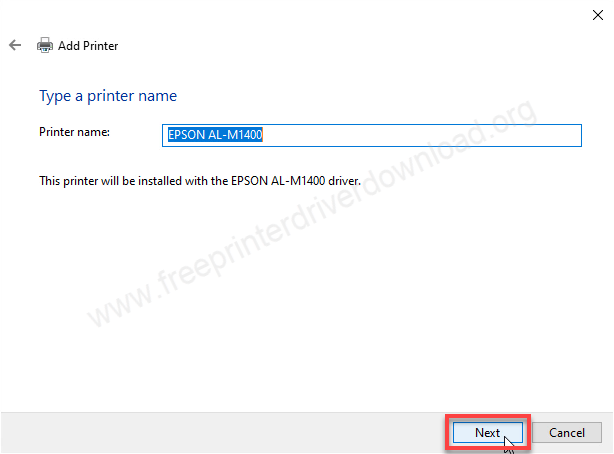
Step 15: Select the printer model number Epson AL-M1400 and then click on Next.

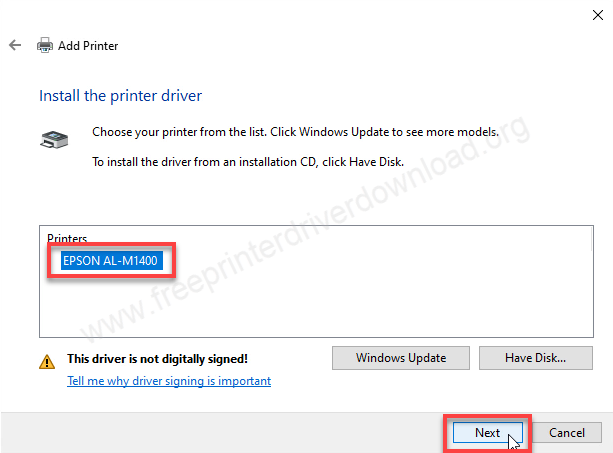
Step 16: Click on Next.
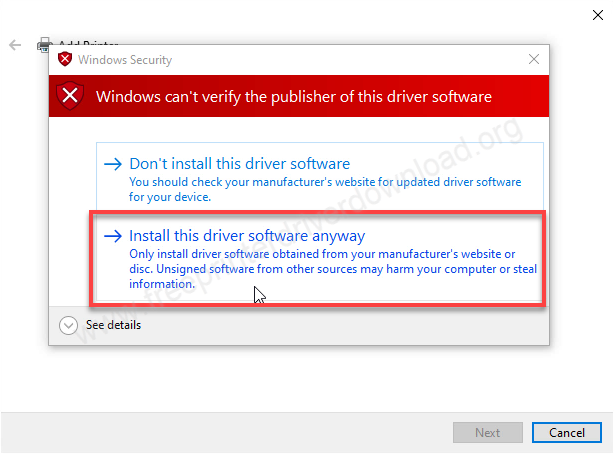
Step 17: Click on “Install this driver anyway”. If you don’t have this option in Windows 11, 10, 8, 8.1, it means you have disabled the “driver signature enforcement” option.
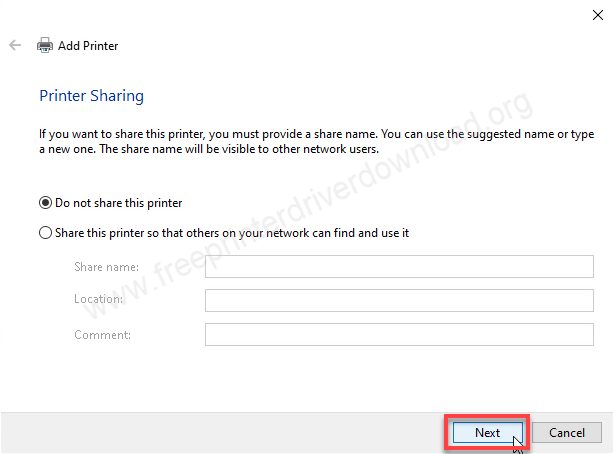
Step 18: Choose the option “Do not share this printer” and then click on Next.
Step 19: Finally, click on Finish. The printer Epson AL-M1400 has been installed successfully.
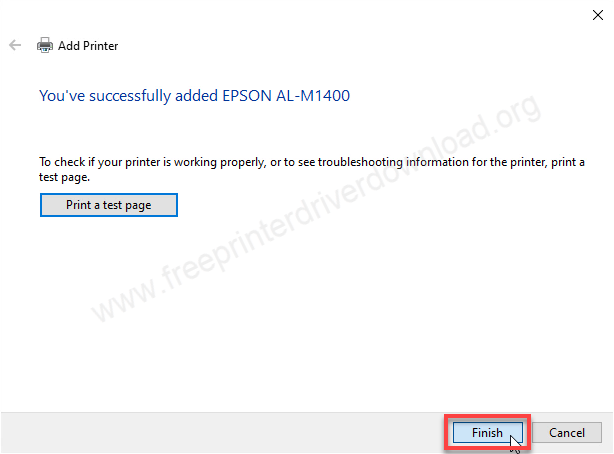
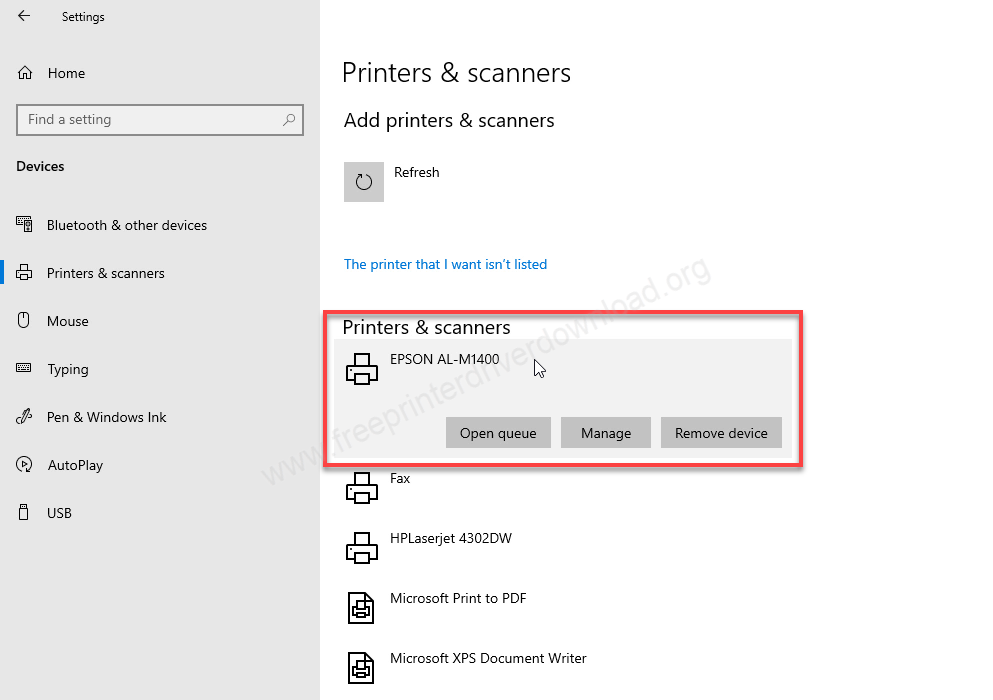
Step 20: Go to the printers page and check whether the printer is installed or not. As you can see in the screenshot below, the printer Epson AL-M1400 has been installed successfully.

Here’s how you can install this M1400 printer on your computer. I have tested this on my Windows 10 64 bit computer and also disabled the “Driver Signature Enforcement” option. You may apply the same steps on Windows 11, 8, 8.1, 7, Vista, XP, Server editions.
Specifications
HP Laserjet M 1400 is a black & white laser printer with a simple and sober design. It uses a black toner cartridge (model number: MX14 – C13S050650) which can print 2000 pages in each refill. It has a CPU of speed 4305/150 MHz and the memory is 64MB onboad.
The print speed of this printer is 24 pages per minute – I’m talking about A4 pages. The print resolution of this printer is 600 DPI in standard mode and 1200 DPI in high resolution mode. There is no duplex feature, you will have to do it manually. The paper holding capacity is 150 pages in the input tray and 100 pages in the output tray.
The power consumption of this printer is 380 watts in running condition, 62 watts in standby condition and four watts in sleep mode. The maximum power consumption of this printer is 990 watts which is very high I can say.
The dimensions of this printer are 358 MM in width, 197MM in depth and 208MM in height and the total weight of this printer is 4.6 kilograms. It has only one connectivity option which is through USB, again it is simple to connect. You can connect this printer through USB to your computer. If you want to use this printer on your network then you can share it from your host computer to your local network but in that case you will have to keep your host computer turned on while printing.
I have shown you all about HP Laserjet M 1400 printer, how and where to download the driver and then how to install it on your computer and the complete information about this printer, hope you liked it.


