


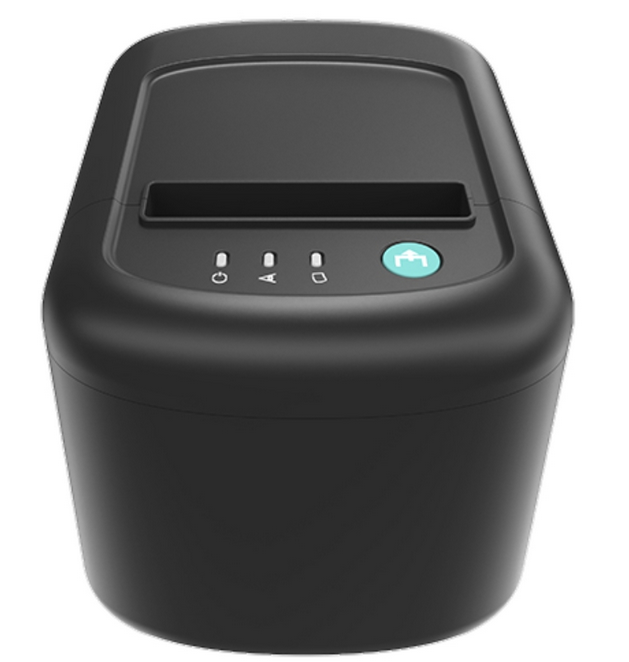
Gainscha GA-E200 is a thermal receipt printer that is used in the retail field for printing bills or receipts. To connect this printer with your computer properly, you need to install its latest drivers on your computer. If you already have the drivers, that’s good. If not, you can download the latest version driver from the link given below. I have prepared this installation guide to help you.
After downloading the driver, you should also follow the installation steps to know how to install it. A step-by-step installation method is also given below. So let’s start the installation process by downloading the drivers first.
Download Gainscha GA-E200 Printer Driver
If you are looking for download Gainscha GA-E200 driver, then you will have to know the version of your operating system and then simply click on the download button according to the version of your OS. This printer supports: Windows 11, 10, 8, 8.1, 7, Vista, XP (32bit / 64bit), Server 2000 to 2022, Linux, Ubuntu, and Mac 10.x, 11.x, 12.x, 13.x, 14.x Sonoma operating systems.
Driver for Gainscha GA-E200 Printer
Type: Full feature driver Operating System: Windows 11, 10, 8, 8.1, 7, Vista, XP, Server 2000 to 2025 (32bit / 64bit) File Size: 2.83 MB Version: 2.2 Download DriverDriver for Gainscha GA-E200 Printer
Type: Full feature driver Operating System: macOS 10.x, 11.x, 12.x, 13.x, 14.x, 15.x File Size: 26KB Version: 2.2 Download DriverDriver for Gainscha GA-E200 Printer
Type: Full feature driver Operating System: Linux & Ubuntu (32bit / 64bit) File Size: 26.2 KB Version: 2.2 Download DriverDriver for Gainscha GA-E200
Type: Full feature driver Operating System: Windows, Mac, Linux File Size: 51.58 MB Version: 1.2 Download DriverGA-E200 User Manual downlaod for all OS: Download
GA-E200 JPOS Driver for Windows: Download – 2.2 MB
GA-E200 OPOS Driver for Windows: Download – 34.4 MB
OR
Alternatively, you may download the same drivers directly from Gainscha website.
How to Install Gainscha GA-E200 Printer Driver
In order to install this printer driver on your computer, you will have to follow the below given installation instructions carefully.
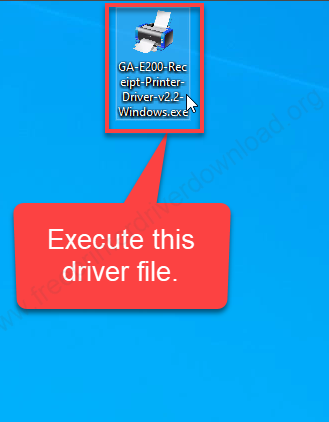
Step 1: Double-click on “GA-E200-Receipt-Printer-Driver-v2.2-Windows.exe” to execeute the driver installer.

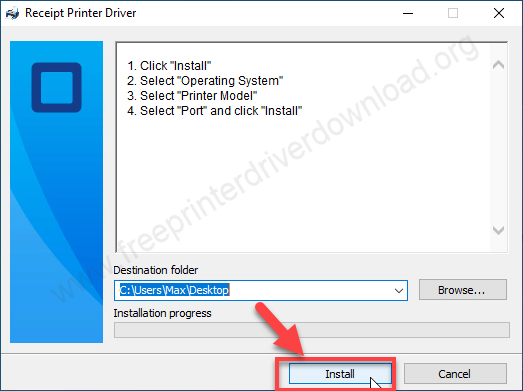
Step 2: Installation wizard has been strated, click on “Install” now.

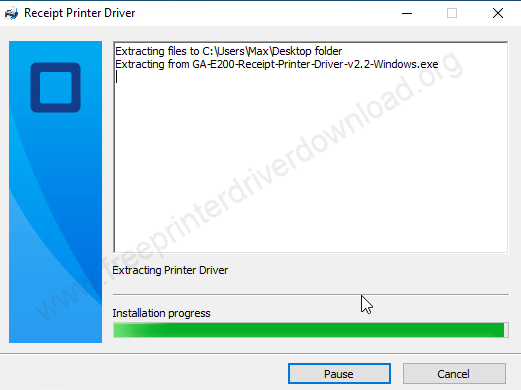
Step 3: It is extracting one more sub-installer, so please wait for that.

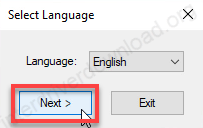
Step 4: Select the preferred language and click on Next.

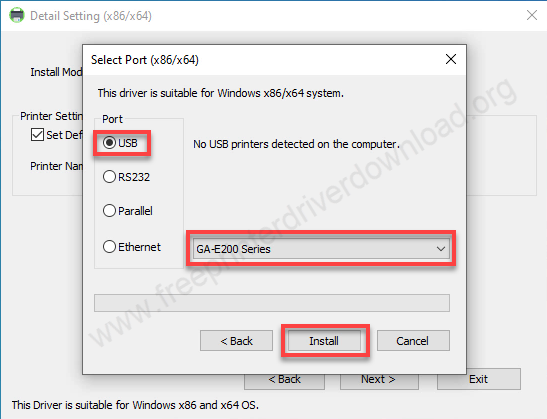
Step 5: Now, select the preferred connection type – where your printer is connected right now and then select the model number of your printer from the drop down menu and click on install.

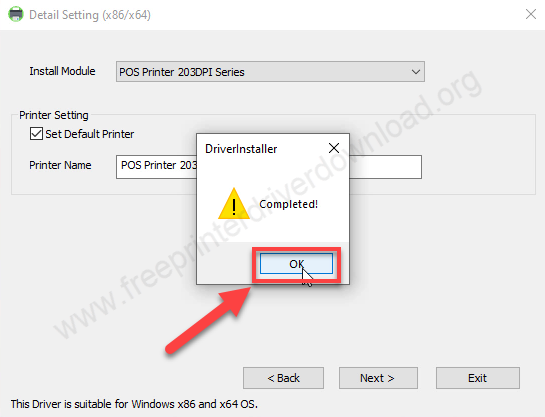
Step 6: The printer GA-e200 has been installed. Click on OK.

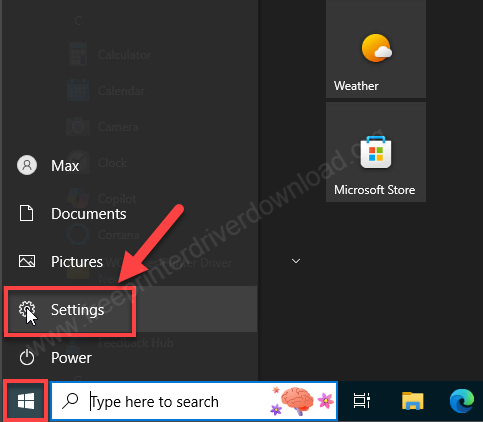
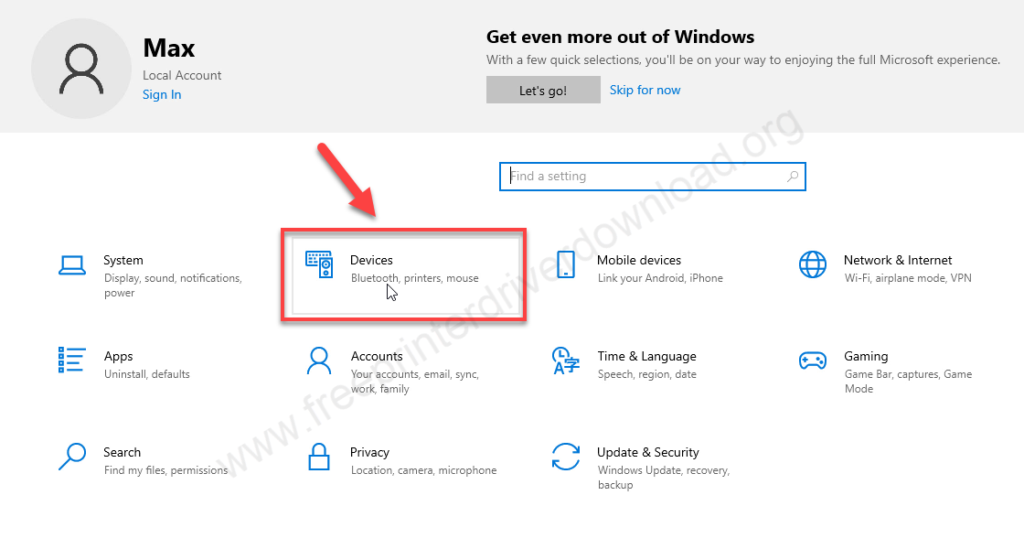
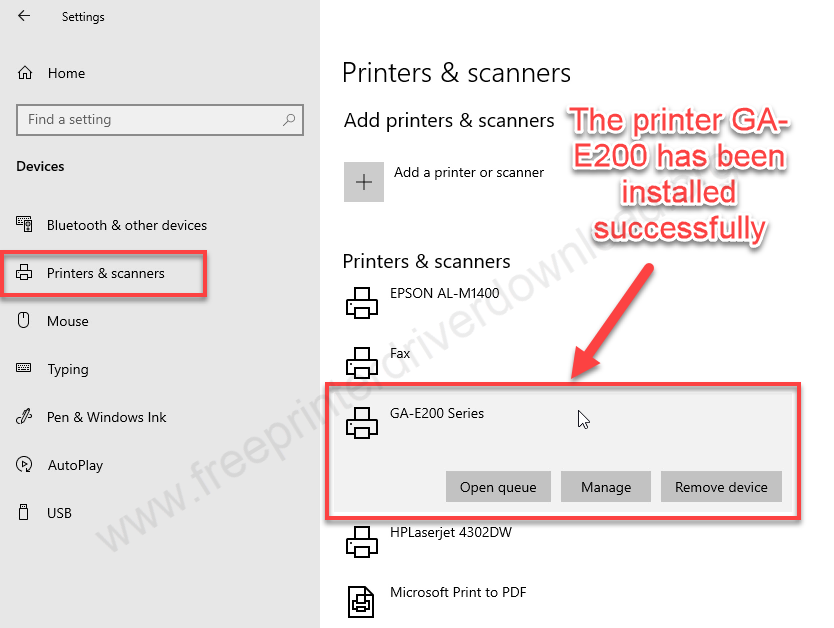
Step 7: Go to the printer’s page and check whether the printer is installed successfully or not. Click on the Start menu and click on settings.

Step 8: Click on devices.

Step 9: The GA-E200 printer is listed in the printer’s list, it means the printer has been installed successfully.

This is how you can install this printer on your computer. I have applied these steps on my Windows 10 64bit OS, you can apply the same steps on Windows 11, 8, 8.1, 7, Vista, XP, and Servers.
Specifications
This printer uses direct thermal technology to print. It supports paper up to 80mm wide. Its print resolution is 203 DPI, and it prints at a speed of 200mm per second.
You can connect this printer to your computer in three ways: through USB, LAN, or RJ11. It also supports different barcode types. Although the data transfer speed is not very high, it is 64KB. You can also connect your cash drawer using the RJ11 port. The printer’s dimensions are : 152mm (Length) × 130mm (Width) × 130mm (Height).
It comes with an auto-cutter, which is a popular feature these days. It also has a built-in buzzer that notify you after printing is done. This printer supports Windows, Linux, Android, and iOS operating systems.

