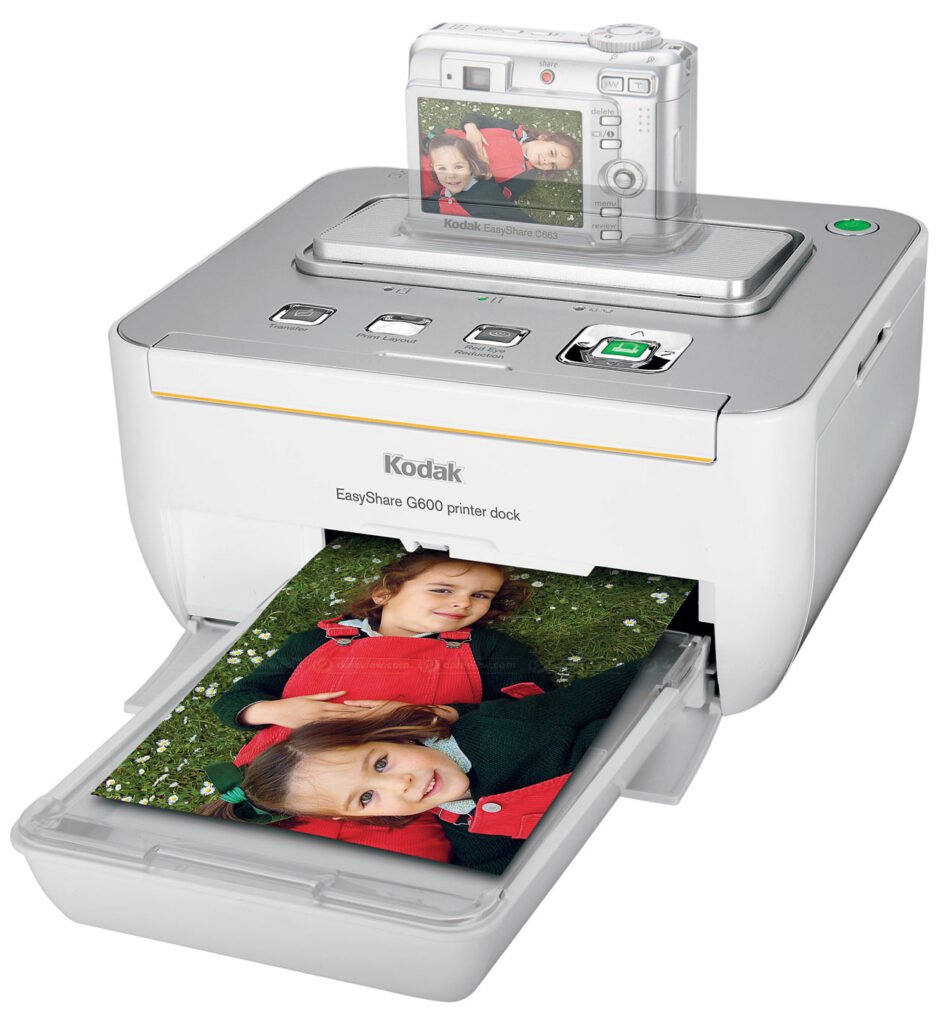
Kodak EasyShare G600 is a high quality photo printer cum camera (EasyShare Series) docking station. While docking the camera on the printer, you can print from the camera directly, charge the camera’s battery and you can copy the camera data to the computer. It is really a good quality compact photo printer. It gives you lab quality level photo’s print out.
To use this printer through your computer, you need to install the latest version driver on your computer. Although you can get the drivers from the software CD that came with the printer but as this printer is very old the CD might not work. For this, I have provided the Kodak EasyShare G600 driver download links in the download section below. After that, you must read the step-by-step guide on how to install Kodak G600 printer in Windows.
Download Kodak EasyShare G600 Dock Printer Driver
To download the drivers, you just need to know the operating system version of your computer and then click on the download link accordingly.
Driver for Kodak EasyShare G600 Dock Printer
Type: Full feature driver Operating System: Windows 11, 10, 8, 8.1, 7, Vista, XP, Server 2000 to 2025 File Size: 2.44 MB Version: 1.6 Download DriverKodak G600 User Manual Download
OR
Alternatively, you may download the same drivers from Kodak’s official website.
How to Install Kodak EasyShare G600 Dock Printer Driver
To know how to install Kodak G600 printer, just follow the following steps.
Step 1: Right-click on the printer driver and click on “extract all”

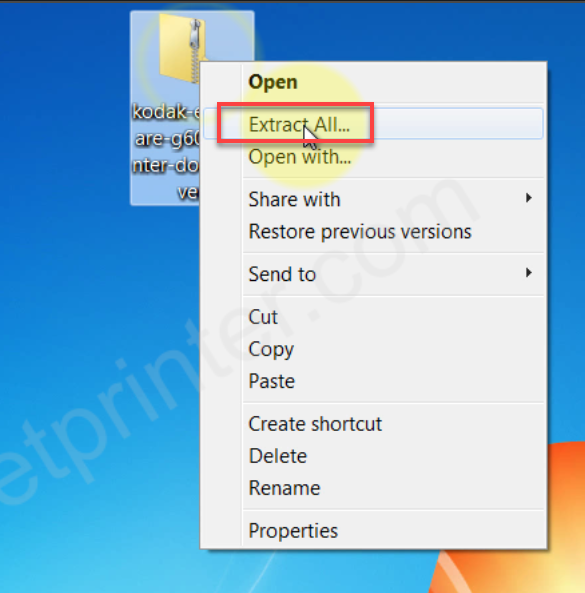
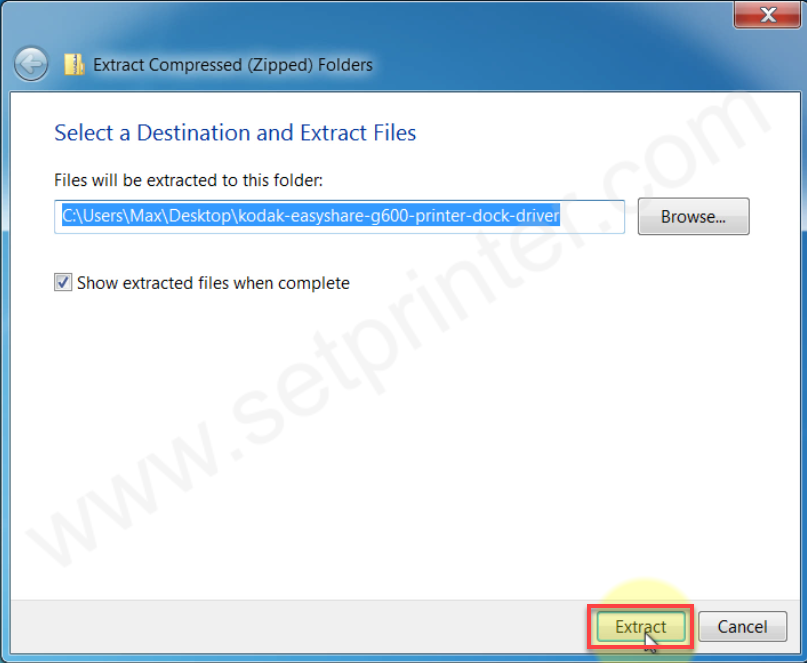
Step 2: Click on extract button.

Step 3: Drivers have been unzipped, let’s start installing it manually. Click on start button and then click “Devices & Printers”


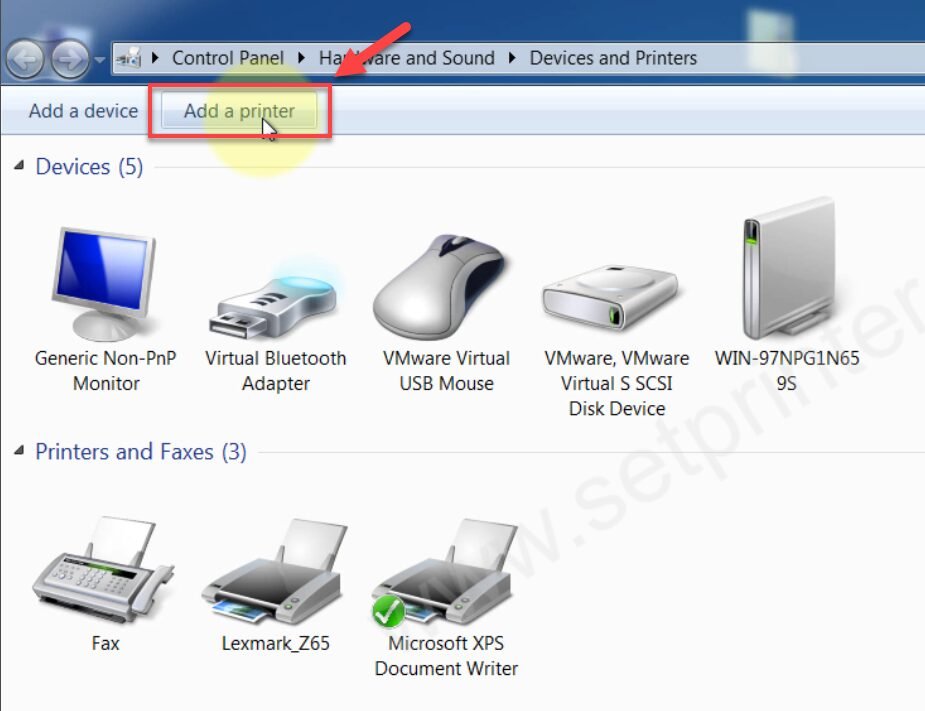
Step 4: Click on “Add a printer”

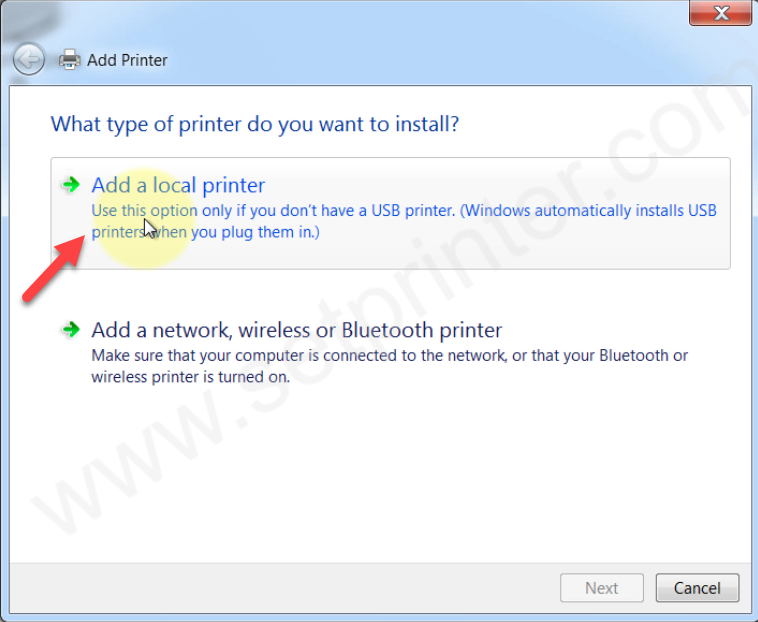
Step 5: An installation wizard will open up. Click on “Add a local printer”

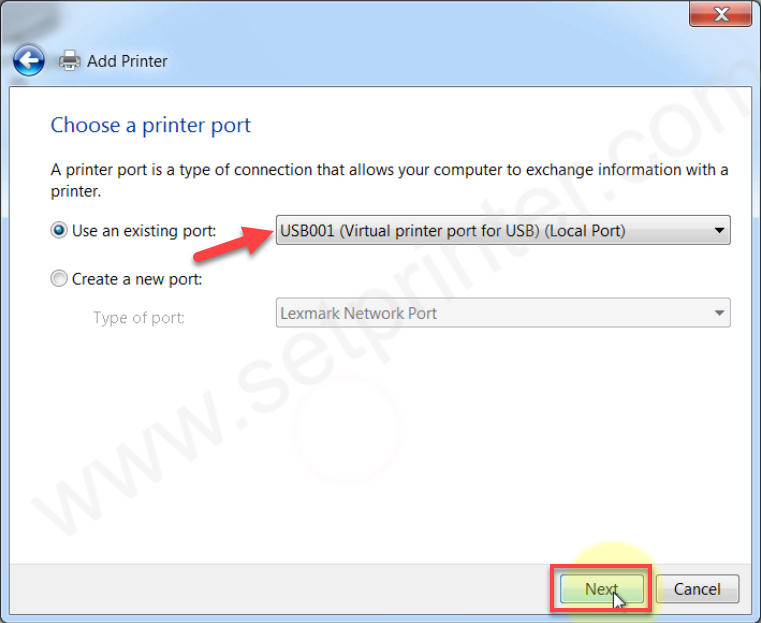
Step 6: Select the printer port “USB001, USB002 or USB003” and then click on Next.

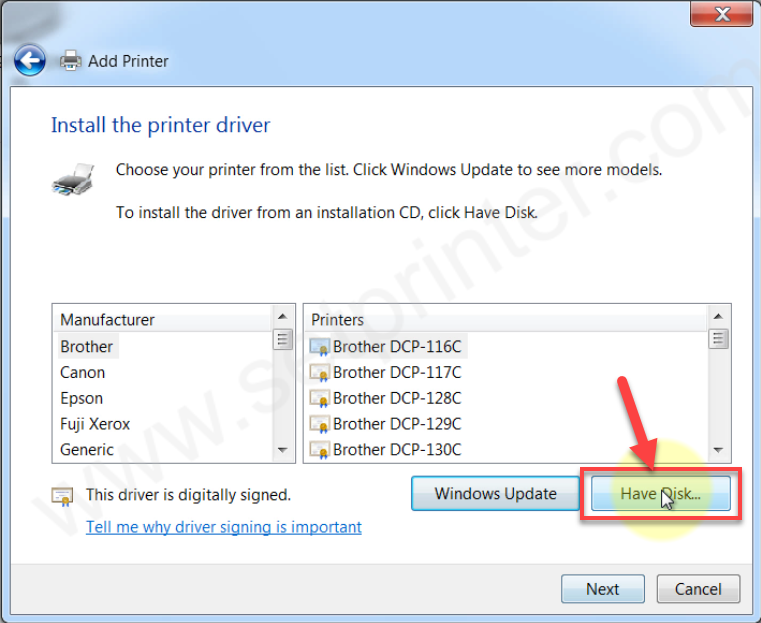
Step 7: Now, it is asking for the drivers. Please click on the have disk.
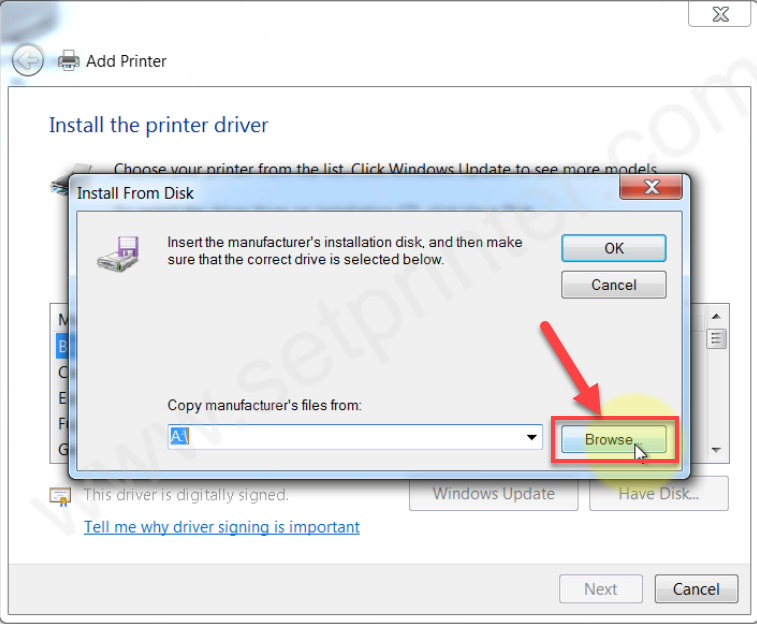
Step 8: Click on browse and go to the location where you have extracted the drivers.

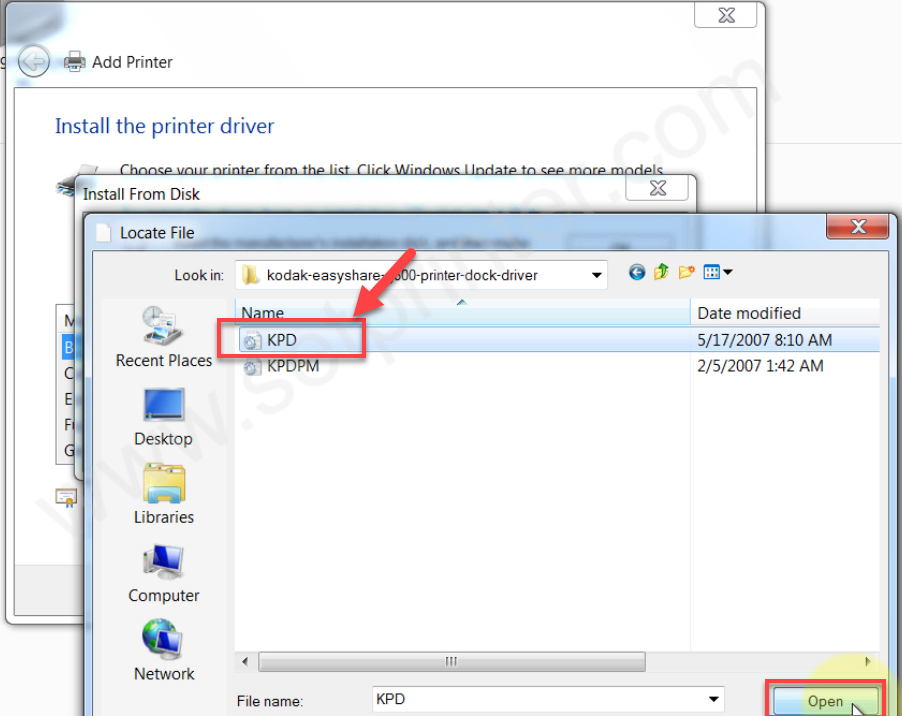
Step 9: In the location, select KPD.inf file and click on open.

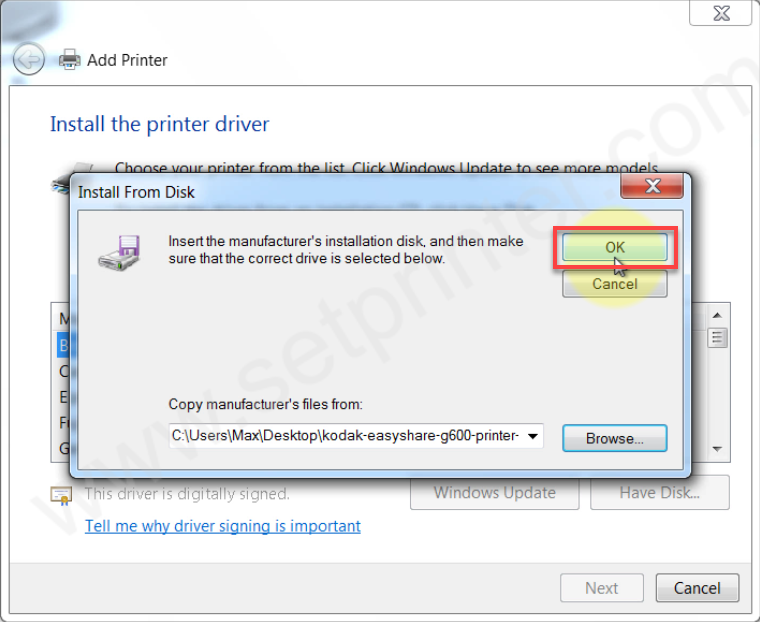
Step 10: Then click on OK.

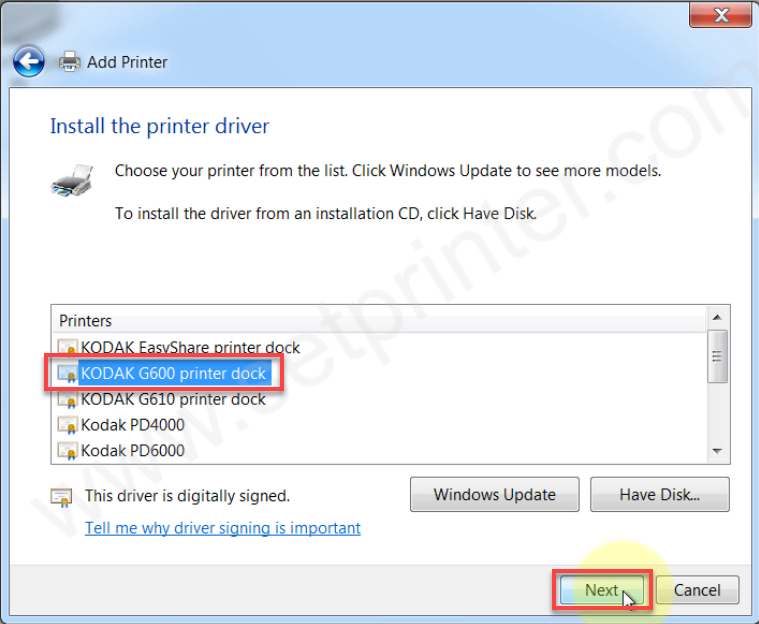
Step 11: After that, select the model number: Kodak G600 printer dock and then click on Next.

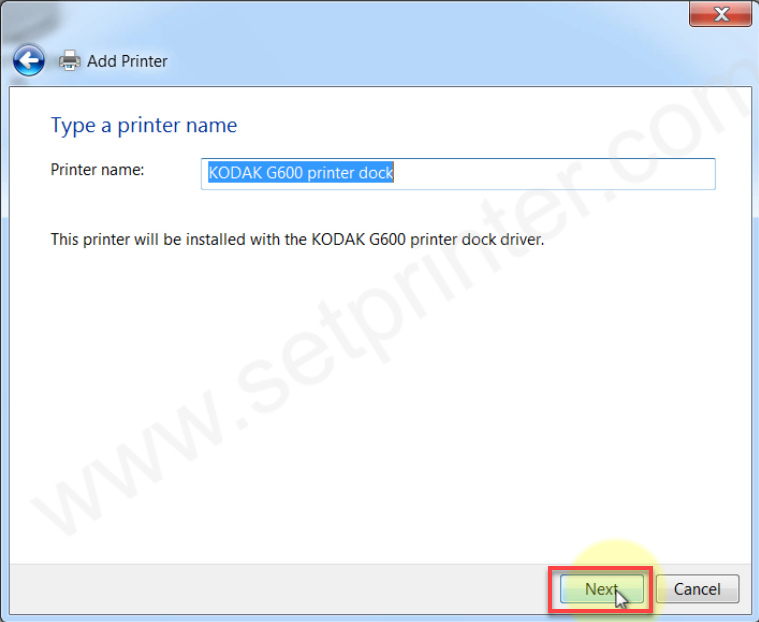
Step 12: Now, click Next.

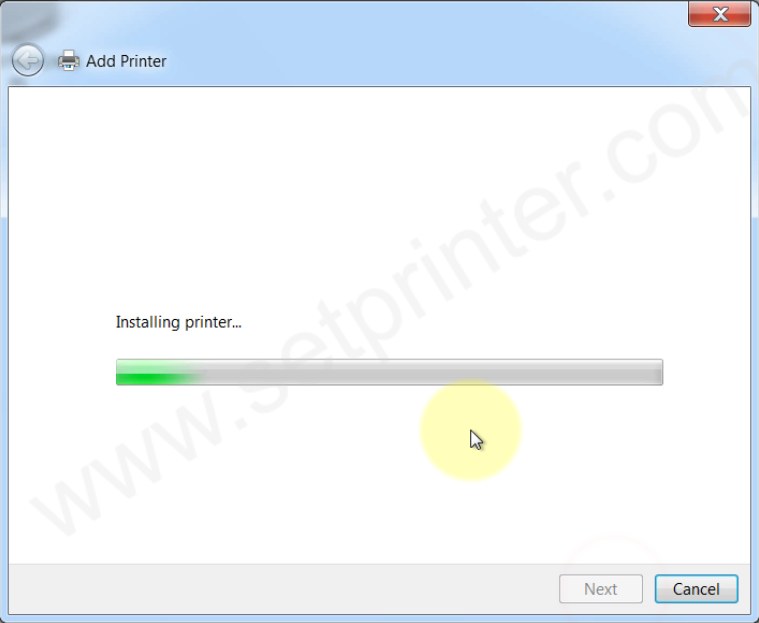
Step 13: It is installing the G600 drives, so please wait for that.

Step 14: Select the first option: “Don’t share this printer” and then click on Next.


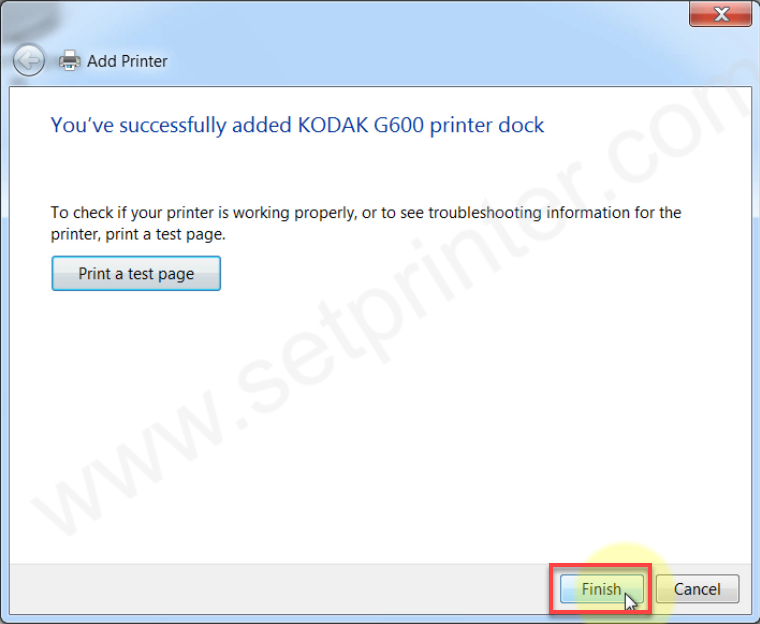
Step 15: The printer Kodak EasyShare G600 printer has been successfully installed, click on finish to complete the installation process.

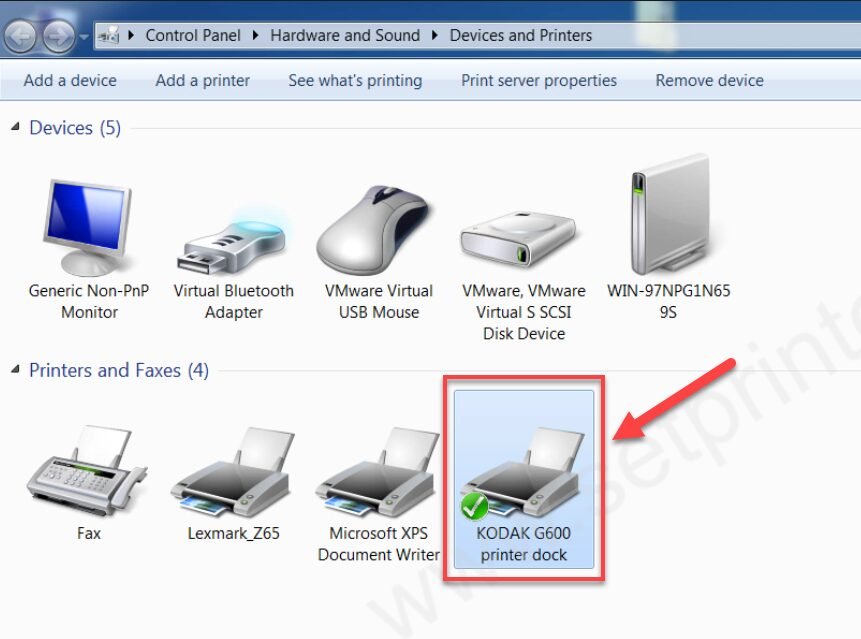
Step 16: Go to the printer’s page and check whether the printer is installed or not. As you can see the Kodak G600 printer is listed in the printers list – this means the printer is installed successfully. Take a test print and check the printing works properly or not.

This is how the Kodak EasyShare G600 printer can be installed. If you like this tutorial, please share your experience in the comments below.
Specifications:
Kodak EasyShare G600 is a photo printer along with a camera docking station. Either you print from the computer or from the camera directly. Although you can print from the flash drive as well. It uses 4×6 inch photo paper to print. The print quality of this printer is equivalent to lab quality.
As it is a photo printer, the print speed of this printer is very low: 60 seconds per print. It uses a special type of ink cartridge which can be refilled easily. It uses dye-sublimation ink. It has two USB ports, one is for flash drives for direct printing and another one is for computer communication.
A power adapter also comes with this printer because it has to power on the printer and simultaneously it has to charge the camera battery as well.