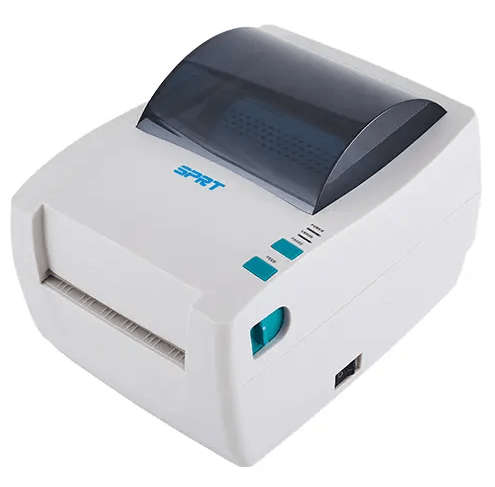
SPRT SP-T12 / T12U is a thermal printer with wireless connectivity option (Bluetooth). It supports 58mm paper. It is usually used to print receipts and invoices. You will have to cut the print out manually because it don’t have auto cutter. On android and iPhones you just need to connect this printer through the bluetooth and boom!! – the printer will be installed. You just need to give the print command and this printer will be shown there.
In order to install this printer on your computer, you will have to install its driver. You can easily download its driver from the download section given below for free. This printer supports Windows, Linux and Mac OS. All their drivers are listed below, so please check out the download section in order to download the drivers for free.
After downloading the drivers, you must check out the step-by-step guide in order to properly install this printer on a computer. Let’s start by downloading the drivers first.
Download SPRT SP-T12 / T12U Printer Driver
Driver for SPRT SP-T12 / T12U Printer
Type: Full feature driver Operating System: Windows 11, 10, 8, 8.1, 7, Vista, XP, Server 2000 to 2025 File Size: 1.03 MB Version: 2.10 Download DriverClick on the download button located in front of the operating system version given in the list below to download the driver file.
OR
You may download the same driver directly from the SPRT SP-T12 official download page.
After downloading the drivers, let’s see how to install SPRT SP-T12 printer driver in Windows OS.
How to Install SPRT SP-T12 Printer Driver in Windows
To install this SPRT T-12 printer, follow the below given step-by-step guide.
Installation Steps:
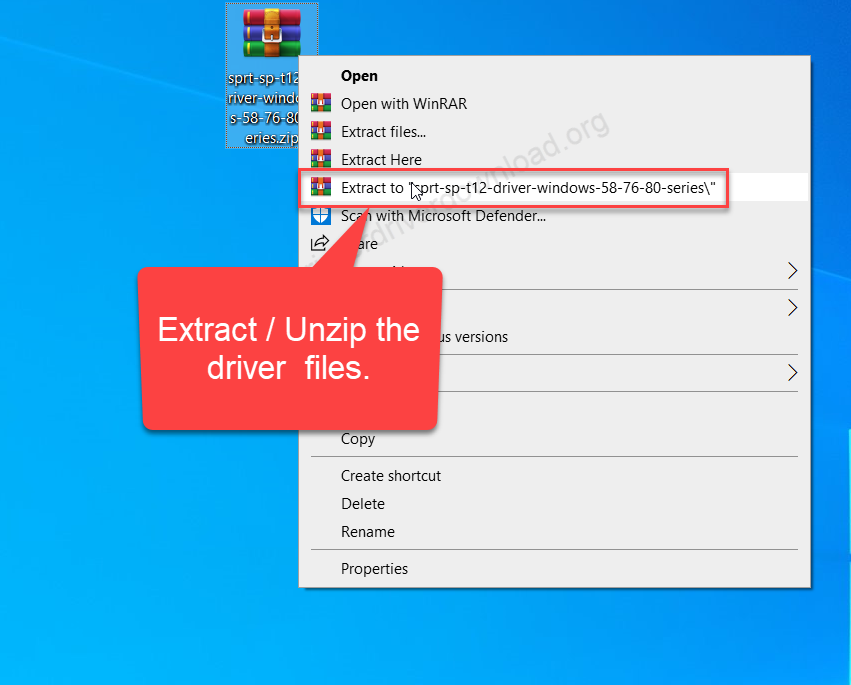
Step 1: Right-click on the “sprt-sp-t12-driver-windows-58-76-80-series.zip” driver file and then click on “extract all”. Basically you need to unzip the driver file to the same location.

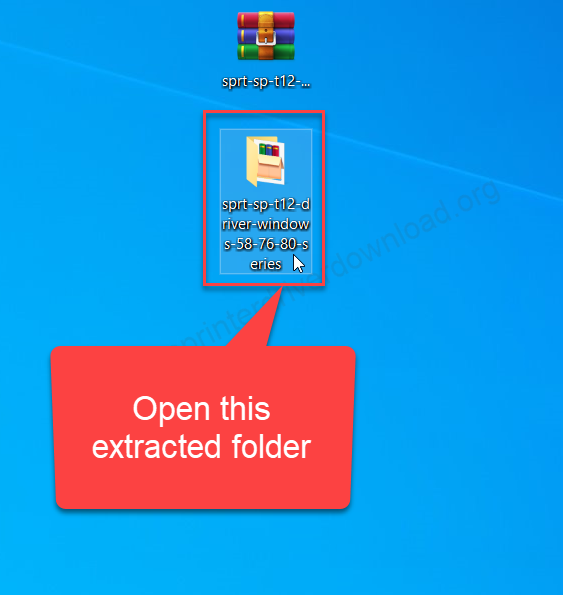
Step 2: It will create a folder which contains driver files. Open up this folder.

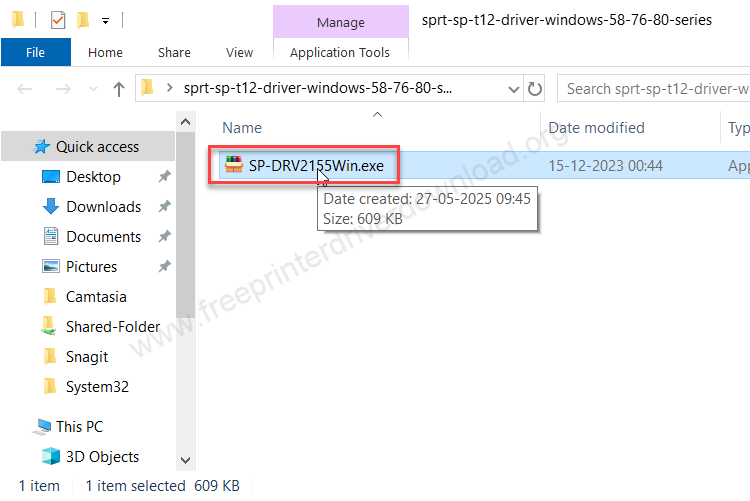
Step 3: Double-click on the “SP-DRV-2155Win.exe” file to execute the installer.

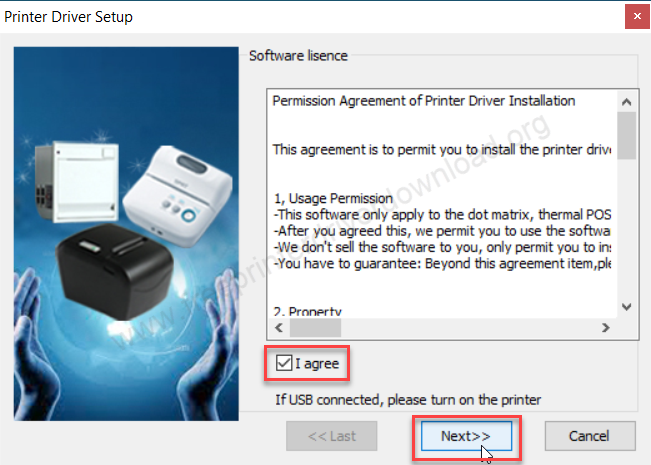
Step 4: Tick the check box “I agree” and then click on Next.

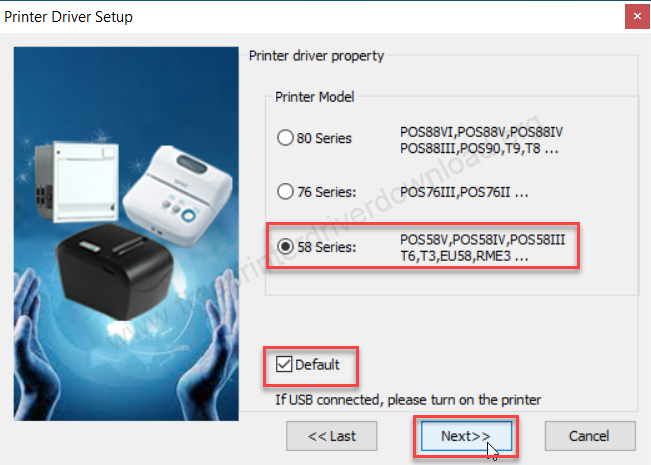
Step 5: Choose the first option: “58 Series” and then tick the check box “Default” and then click on Next.
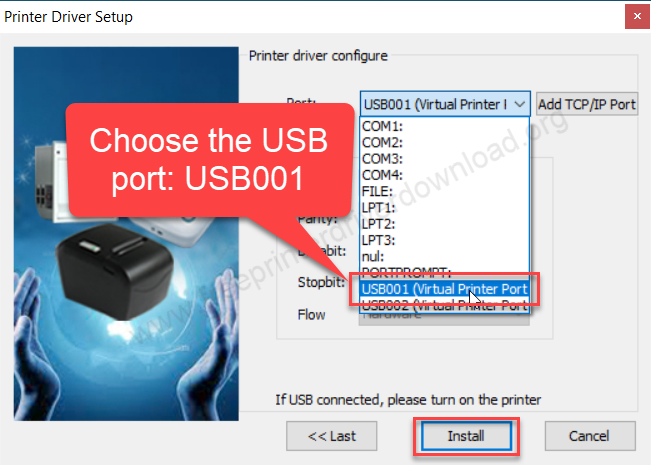
Step 6: Select the printer’s port: USB001 and then click on Install.
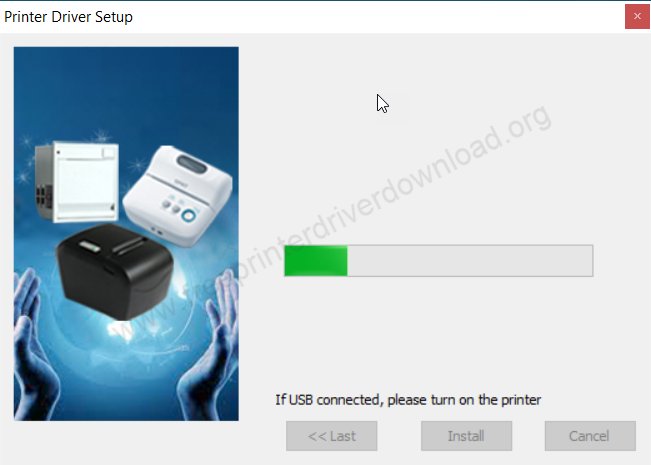
Step 7: Let it be installed – please wait.
Step 8: Printer has been installed successfully. Click on OK.

That’s all, this is how you can install this SPRT SP-T12 printer on a computer. Hope you have learned the right way to install it in the proper way.