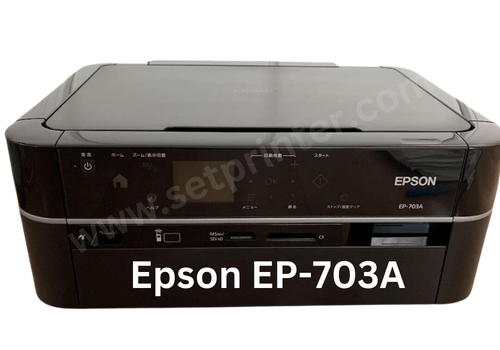
Epson EP-703A is a very old photo printer, launched in 2008. This printer is purely made for photographers because this printer prints with very high print resolution of 5760 x 1440 dpi. It uses 6 dye ink cartridges for this high quality result. It has lots of features on the front panel of this printer. To use all the features through your computer, you need to install the latest version driver. If you have the driver CD, that would be great. If you don’t have it, you can download it from the download section below.
After download the driver, you need to know the correct method to install it. I have given a step-by-step installation guide which is also given beneath the download section. To start the installation process to download driver first.
Download EPSON EP-703A Printer Driver
In order to download the EPSON EP-703A printer driver, determine the operating system version of your computer. After that, click on the download link from the below given list according to your OS version.
Driver for Epson EP 703A Printer
Type: Full feature driver Operating System: Windows 11, 10, 8, 8.1, 7, Server 2012 to 2025 File Size: 11.8 MB Version: 4.1 Download Driver| Driver | Downloads |
| Epson EP-703A Driver for Windows | Printer Driver Download – 11.8 MB Scanner Driver Download 32bit – 97 KB Scanner Driver Download 64bit – 109 KB |
| Epson EP-703A Driver for MAC | Not Available |
| Epson EP-703A Driver for Linux | Not Available |
OR
You may download the same driver from Epson’s official website.
After download the correct driver, let’s see how to install it properly.
How to Install EPSON EP-703A Printer Driver in Windows
To install this Epson EP-703A printer properly on your computer, you just need to follow the following step-by-step instructions carefully.
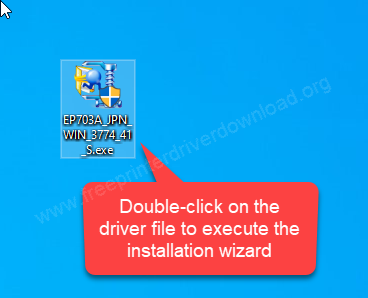
Step 1: Double-click on the driver file (EP703A_JPN_Win_3774_41_S.exe) to execute the installation wizard.
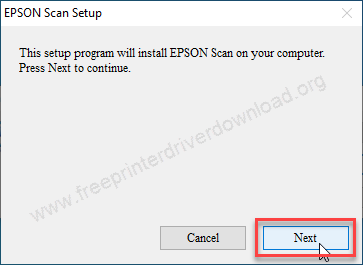
Step 2: Click on Next.
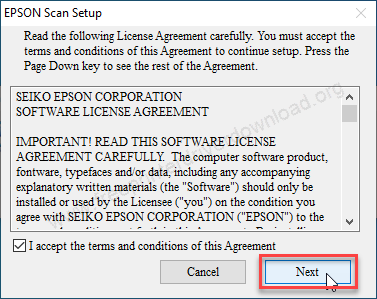
Step 3: Select the checkbox “I accept” and then click on Next.
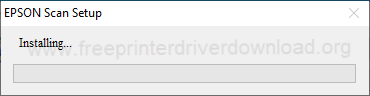
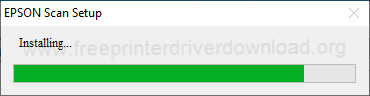
Step 4: Please wait while it is being installed.
Step 5: Let it be done. Please wait for that.
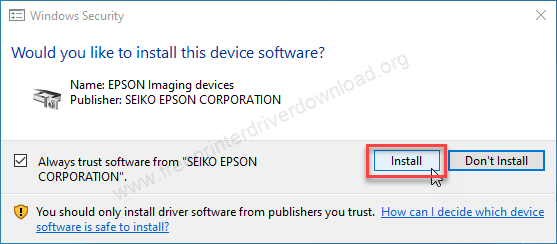
Step 6: Click on Install.
Note: Don’t forget to disable the “driver signature enforcement“ option if you are going to install it on Windows 10. Here’s how to disable the driver signature enforcement options: https://youtu.be/LQKg_VTuZCQ.
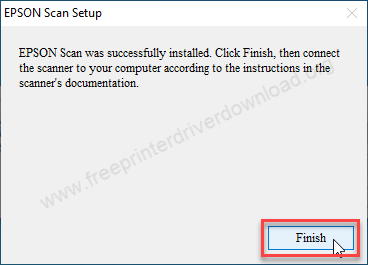
Step 7: The Epson EP 703A printer has been installed, click on the Finish button to complete the installation process. Now your printer is ready to print.
So this is how you can install this printer on a computer. I have shared the steps that I have captured while installing this 703A printer on my Windows 10 64bit OS. You can apply the same steps for Windows 11, 8, 8.1 and Windows 7.
Specifications:
EPSON EP-703A is a photo printer with high print quality. This printer has 3 slots to connect memory cards like: USB, SD card and one USB to connect a Camera for the direct printing with using computer. There is a small LCD screen where you can get a preview before printing.
This printer delivers high-quality prints because it uses a set of six dye ink cartridges. Many photographers used this printer when it was launched but some users still have this machine in 2025, that it why I am providing its driver. It is compatible with operating systems from Windows XP up to Windows 11. The driver download links are provided in the download section above.