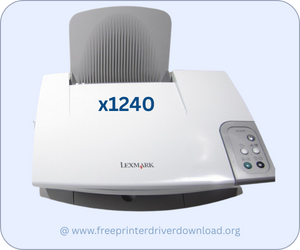
Lexmark x1240 is an all-in-one printer that can print, scan and copy at high resolution. It’s a very compact printer suitable for a conjusted desk. This printer can connect with the USB cable which is known for good connectivity. However, in order to install this printer via USB on your computer, you will require its latest driver. You may download the driver from the software CD that came with the printer, if you don’t have it then you can download the same driver from the download section below.
You will have to determine the operating system version of your computer and then click on the download link given in the download section below. After that, the right installation process would be more important. That is why I’m going to give you a step by step installation guide that will help you to install this printer on a computer. Hope you will like it. Let’s start the installation process by downloading the drivers first.
Download Lexmark x1240 Printer Driver
In order to download the latest version driver, first know the operating system version of your computer and then click on the below given download link accordingly. This printer supports: Windows 11, 10, 8, 8.1, 7, Vista, XP (32bit / 64bit), Server 2000 to 2025, Linux, Ubuntu, Mac OS X 10.x, 11.x, 12.x, 13.x, 14.x and macOS 15 Sequoia, 26.x operating systems.
OR
Yoiu may dowbnload the same driver from Lexmark’s official website.
How to Install Lexmark x1240 Printer Driver
To install the Lexmark x1240 printer, you just need to follow the following steps which I have prepared while installing this printer on my Windows 10 computer. I’m sharing the same way that I have tried, so please follow of the following steps.
Step 1: Execute the driver file – double-click on driver file (cjq1200win7en_Windows_7_8_8.1_10_11_64bit.exe) to execute the auto-installer.
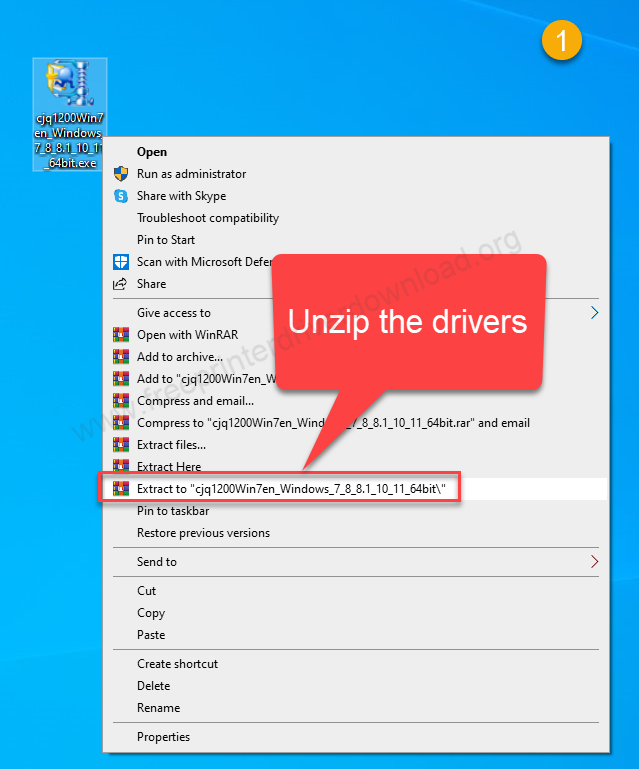
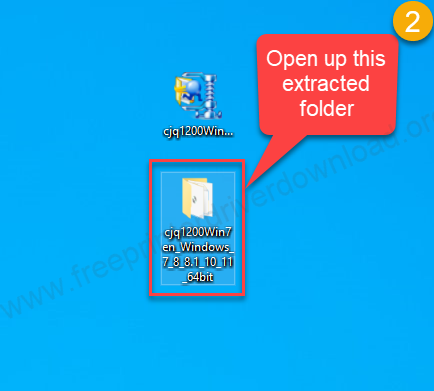
Step 2: The drivers will be extracted into a folder in the same location, open up this folder.
Step 3: You will setup.exe, execute this file.

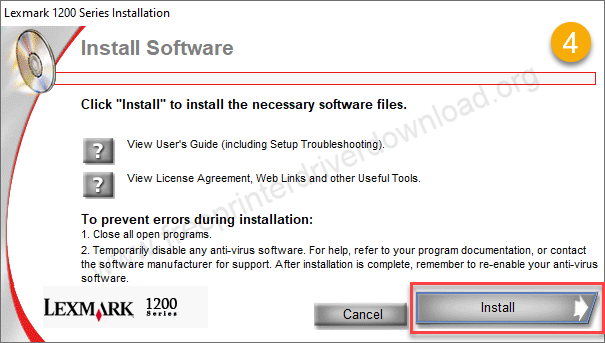
Step 4: Installation wizard has started up, click on install.
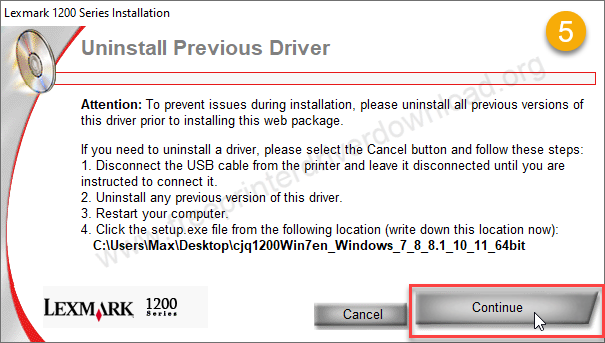
Step 5: Click on continue.
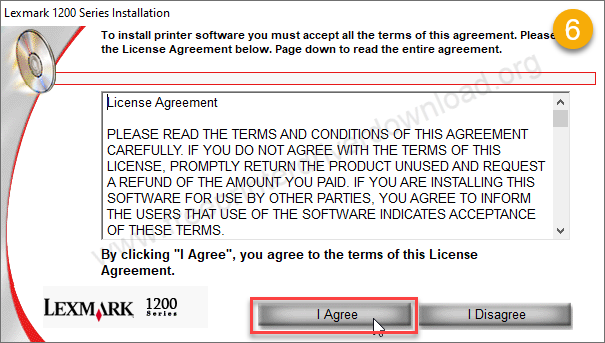
Step 6: Click on I agree.
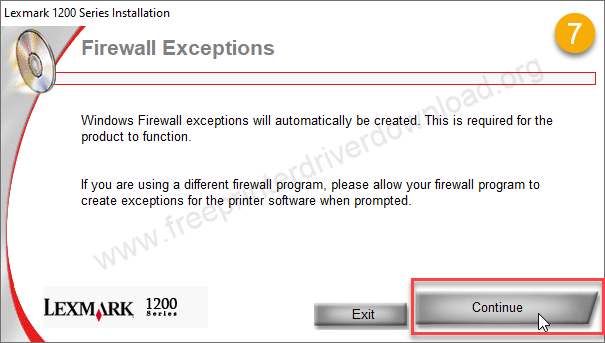
Step 7: Click on continue.
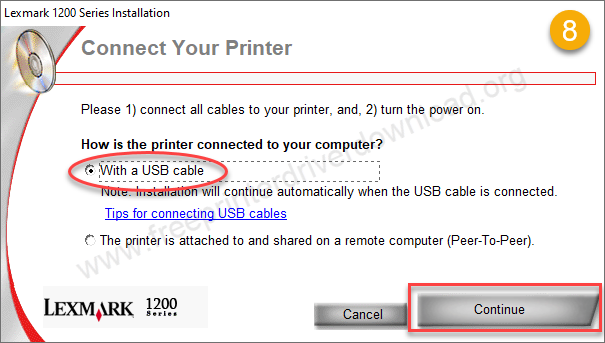
Step 8: Select the USB cable optoin and then click on continue. After that, click on Finish to complete the installation process.
So this is how you can install the Lexmark X1240 printer on your computer. I hope you will like it. If you like it please give us a thumbs up in the comment section below. I have taken the steps while I have installed this printer on my computer which is a Windows 10 64 bit computer but you can apply the same steps on Windows 11, 8, 7 etc.
Specifications
Lexmark x1240 printer is an inkjet color printer with the following features: print, scan and copy. The maximum resolution of this printer is 4800 x 1200 dpi in color and black. This printer supports up to A4 size papers.
The print speed of this printer is 17 pages per minute in black, and if you are talking about color print speed then it would be 9 pages per minute.
It has a built-in flatbed scanner with a resolution of 600 x 1200 DPI. You can copy and resize the copy by 25% to 300%. It only has one USB 2.0 port to connect the printer to the computer. The driver download links are already given in the download section below, please download the driver from there.