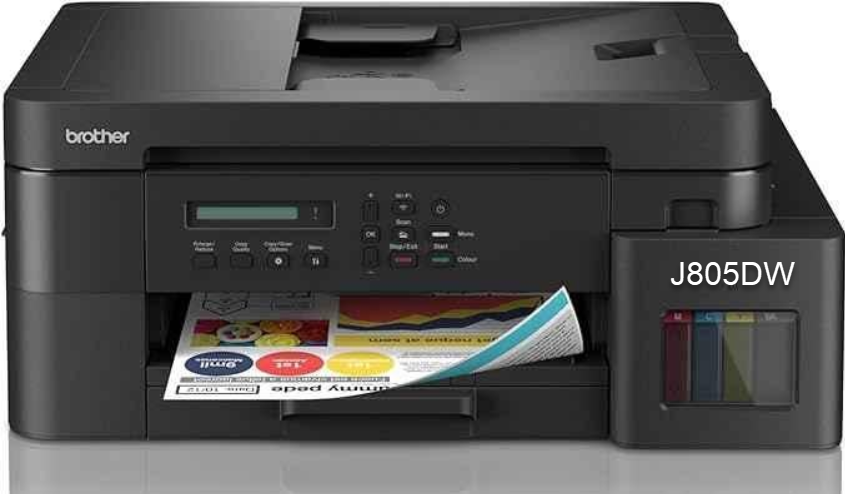
Brother MFC-J805DW is an all-in-one inkjet color printer with ADF feature. This is a very compact printer for home or small office use. This printer also supports duplex printing (2-sided printing) on A4, A5, A6 and letter size papers. This printer can print borderless. This printer comes with a flatbed scanner. It can be installed using its driver CD that came along with the driver. If you don’t have its driver CD then you can download its driver from the download section below. After downloading, follow the below given step-by-step installation process to properly install it.
Download Brother MFC-J805DW Printer Driver
In order to download the driver, click on the below given download link according to your operating system version.
Driver for Brother MFC J805DW Printer
Type: Full feature driver Operating System: Windows 11, 10, 8, 8.1, 7 File Size: 405 MB Version: 1.7 Download DriverDriver for Windows
Full feature driver for Windows 11, 10, 8, 8.1, 7 – Download
Basic driver for Windows 11, 10, 8, 8.1, 7 – Download
Wireless Installer driver for Windows 11, 10, 8, 8.1, 7 – Download
Firmware for Windows 11, 10, 8, 8.1, 7 – Download
Driver for Linux
Printer driver for Linux – Download 32bit / Download 64bit
Scanner driver for Linux – Download 32bit / Download 64bit
Driver for Mac
Driver Install Tool for Mac – Download
Latest Firmware (4.23) for Mac – Download
OR
You may download the driver from Brother’s official website.
How to Install Brother MFC-J805DW Printer Driver
In order to install the Brother MFC-J805DW printer you just need to follow the below given step-by-step installation guide.
Step 1: Double-click on the downloaded driver that you have downloaded from the above given download links.

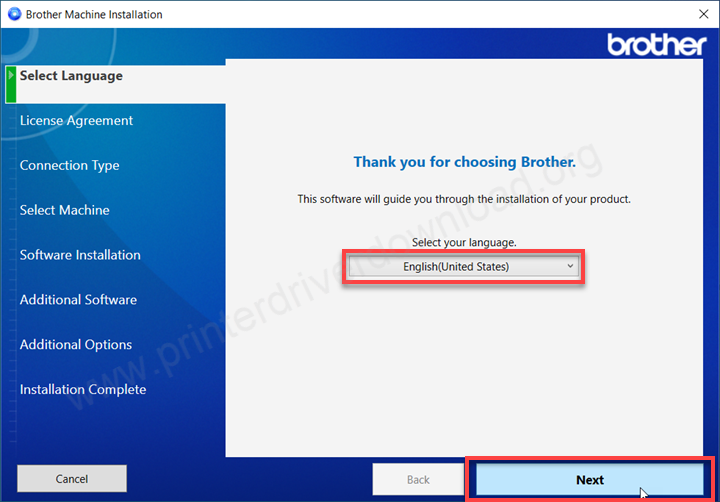
Step 2: Select the preferred language and click on next.
Step 3: Select eh check box I accept and click on Next.

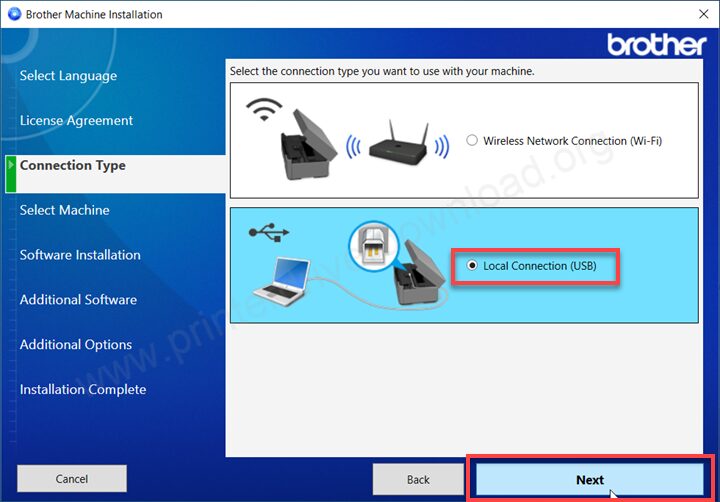
Step 4: Choose the preferred connection type and click on Next.
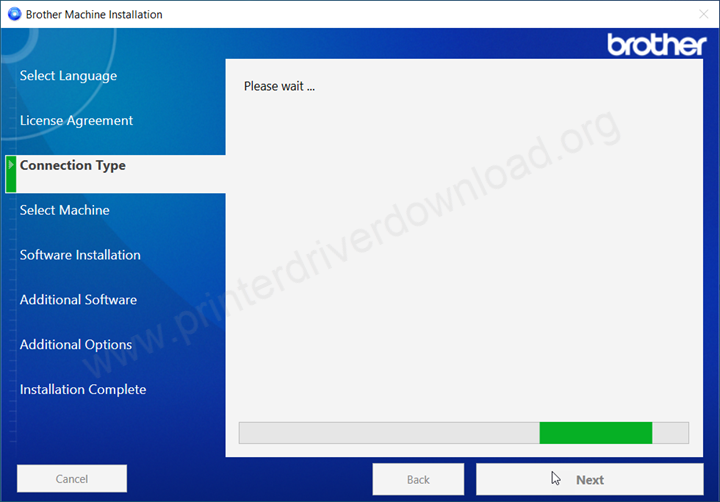
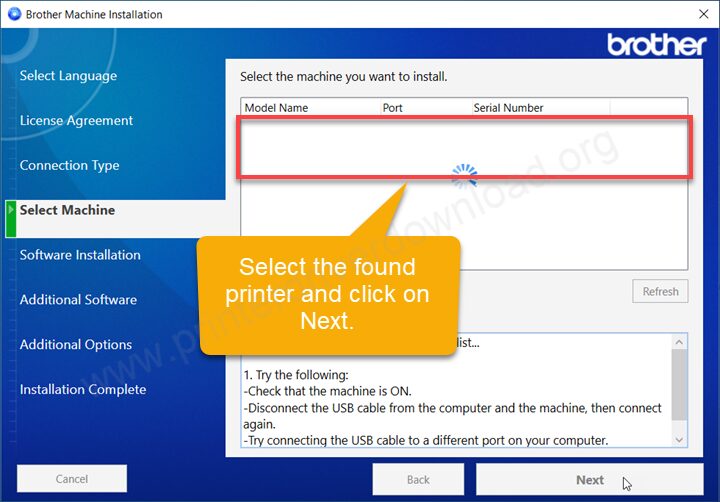
Step 5: Please wait, it is searching for the printer.
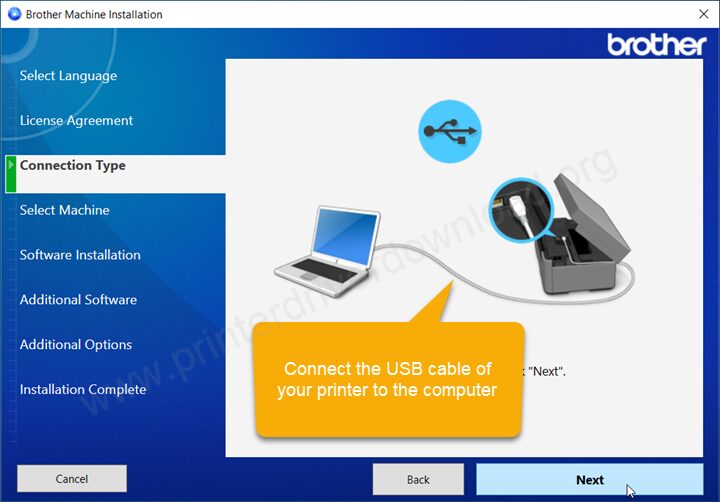
Step 6: Make sure the printer should be connected the printer coorectly. Also make sure the printer is powered ON.
Step 7: It will be found the printer. Select the printer and click on Next.
Step 8: After that click on Next and Finish to complete the installation process.
Here’s how you can install the Brother MFC-J805DW printer on your computer. I have applied these steps on my Windows 10 computer but you can apply the same steps on Windows 11, 8, 7 OS as well.