
Rollo printer has many unique features which makes it one of the most preferred device for printing labels. However, many users have difficulty in downloading and installing a Rollo printer driver on their Windows PC. Therefore, we have prepared this guide which clearly explains how to set up your Rollo printer in Windows operating system.
How to Download
You can download Windows driver for the Rollo printer by clicking on this link. You will get the driver in ‘Rollo-Windows-Latest.zip’ file. Remember the location on your computer where you have saved this Zip file.
How to Install

Step 1: Open the Rollo-Windows-Latest.zip file downloaded before. In the Zip file, you will find an application file named ‘RolloPrinter_Driver_Win_1.4.4.exe’, double-click this file.
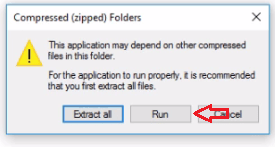
Step 2: Click on ‘Run’.
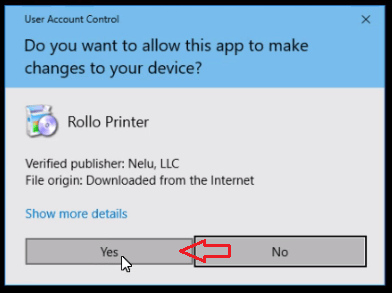
Step 3: Select ‘Yes’ when prompted for permission to install the Rollo driver.
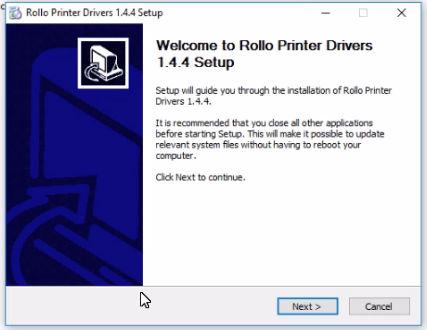
Step 4: Begin installation by clicking ‘Next’.
Step 5: Don’t make any changes here, just click on ‘Install’.

Step 6: Device Driver Installation Wizard will pop-up, click on ‘Next’.

Step 7: Now click ‘Finish’ to complete Device Driver Installation Wizard process.
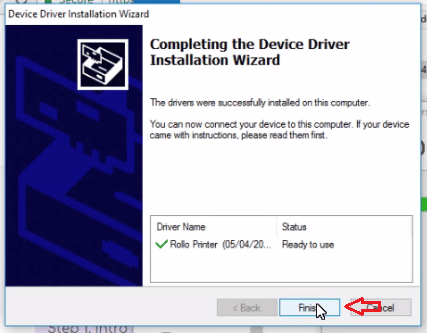
Step 8: Now click ‘Finish’ on Rollo Printer Drivers Setup window.

That’s it. Now you have installed your Rollo Printer successfully in your Windows operating system.
How to Configure
Step 1: Go to ‘Start’ menu, search ‘control panel’. Then, select ‘Control Panel’.
Step 2: In ‘Hardware and Sound’ section, click on ‘View devices and printers’.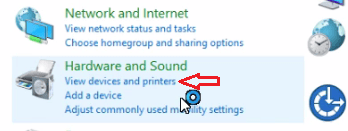
Step 3: If your Rollo printer is connected to the computer and turned-on, then it would be visible in the printers list.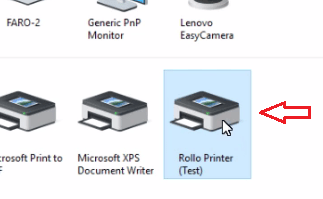
Step 4: Right-click the Rollo Printer icon and select ‘Printing Preferences’.
Step 5: In the Printing Preferences window, click ‘Advanced’ in the Layout tab.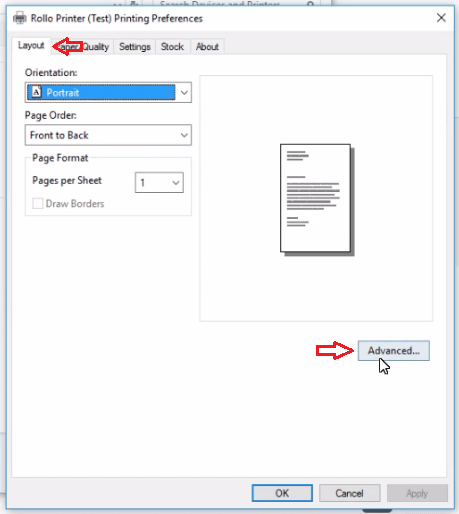
Step 6: Click on the ‘Paper Size’ drop down to select the size of the label that you want to print.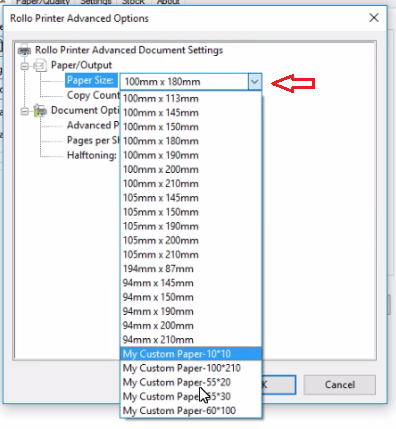
Step 7: The most widely used size is 100mm x 150mm. Select that and click ‘OK’.
This completes configuring your newly installed Rollo printer and now you can start printing labels with this printer.


