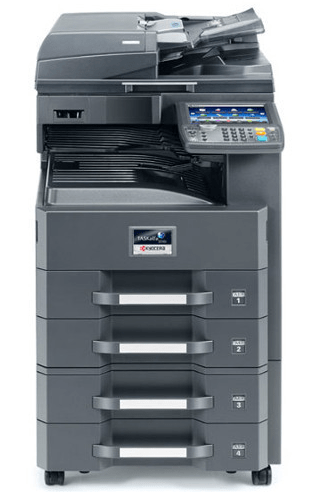
Konica Minolta Bizhub C360 is a complete photocopy machine which has 4 paper trays to keep different size of papers. As it has a flatbed scanner. You can connect this printer & scanner to your local network and then you can print and scan through WiFi. To use all the features of this machine through your computer, you will have to download the latest version driver and install it on your computer. You may download the driver either from its official website or from the download section below of this page. I have given all the needful drivers download link here.
Download Konica Minolta Bizhub C360 Printer Driver
Before downloading the drivers, you must determine the version of your operating system and system type and then click on the below given download links accordingly.
Driver for Konica Minolta C360 Printer Driver
Type: Full feature driver Operating System: Windows 11, 8, 8.1, 7, Vista, XP, Server 2000 to 2025 File Size: 5.17 MB Version: 3.7 Download DriverOR
Download the Bizhub C360 driver from Konica Minolta’s official website.
How to Install Konica Minolta Bizhub C360 Printer Driver in Windows
To know the correct process of installing this printer on Windows PC, follow the below given step-by-step instructions.
Installation Steps:
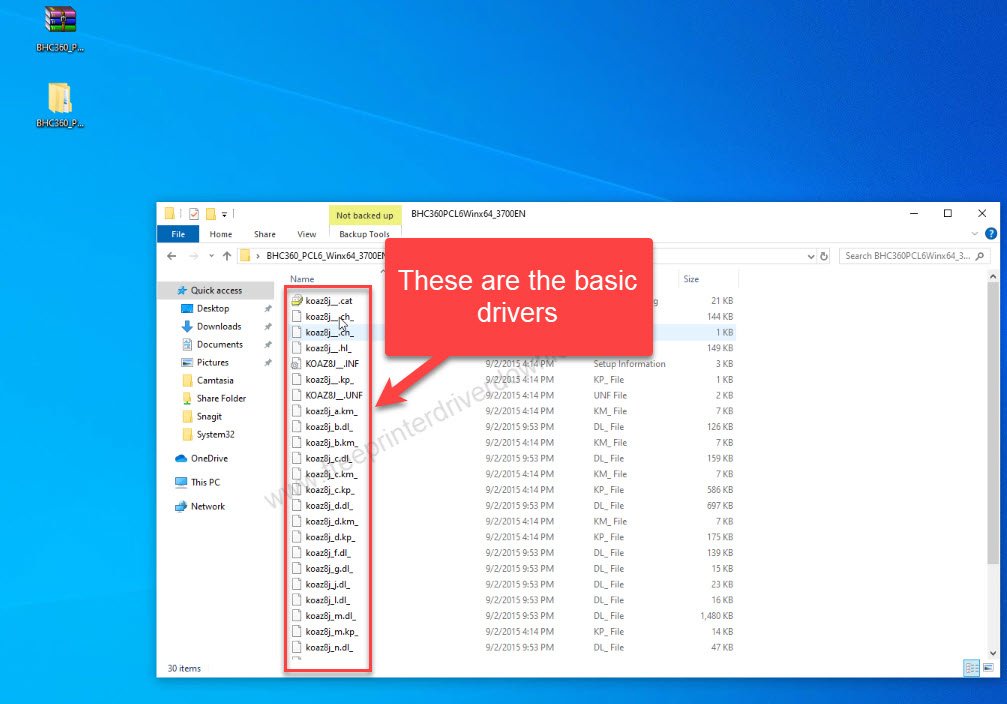
Step 1: Unzip the driver files to the same location. If you don’t have drivers, download it from the above given download link.

Step 2: These are the drivers file that you will need to require while installing it manually.
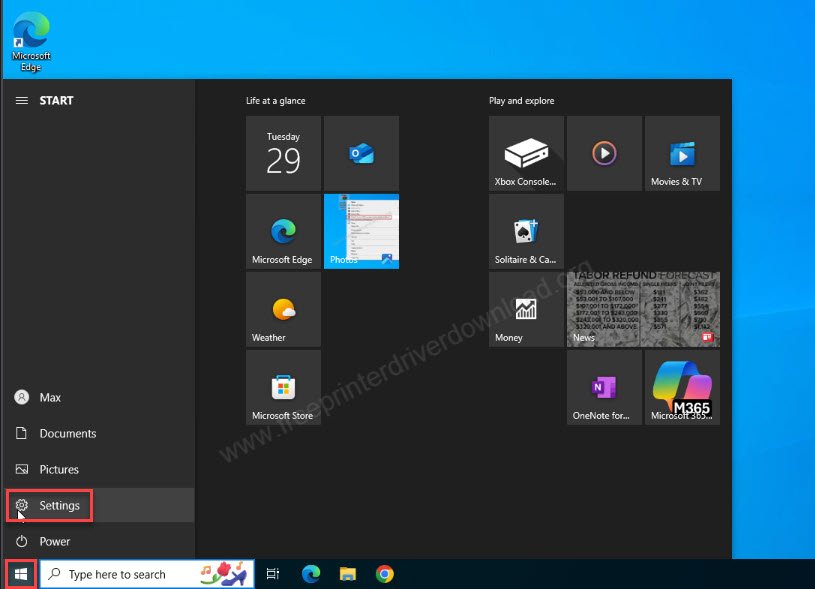
Step 3: Let’s start installing it manually. Click on the Start menu and then click on settings.
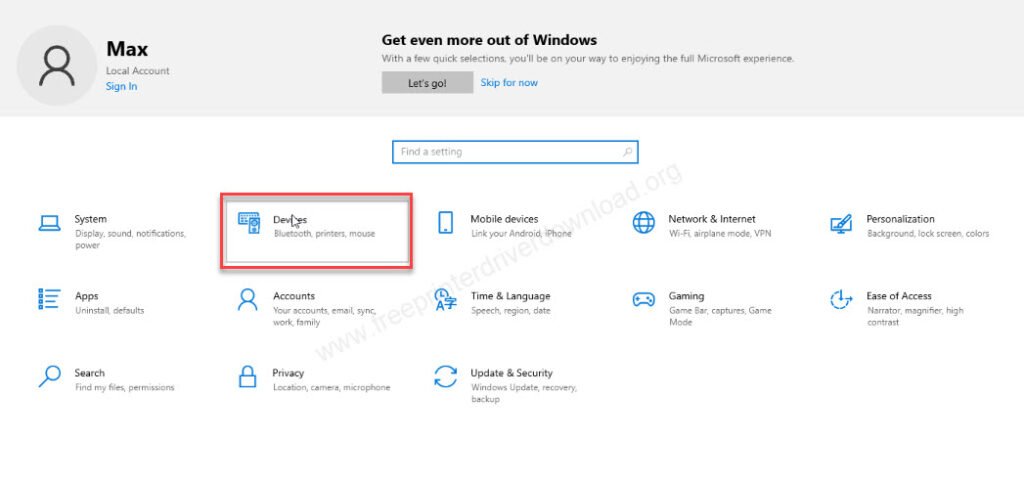
Step 4: Click on devices.
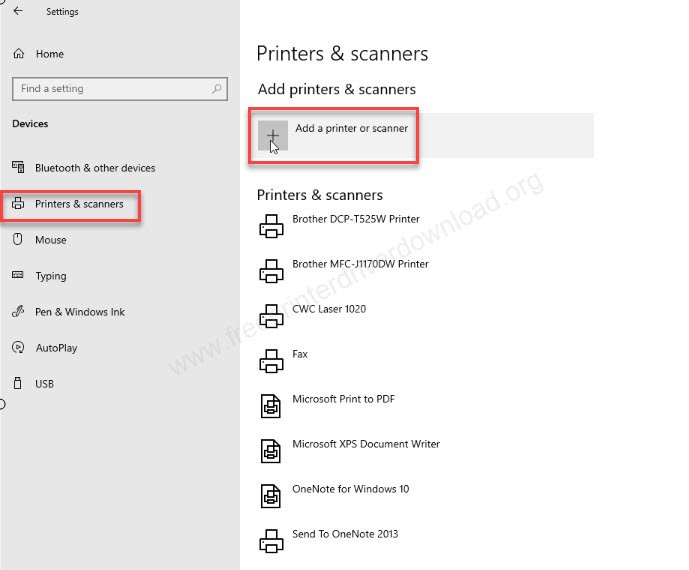
Step 5: Click on “Printer & Scanners” and then click on plus icon of “Add a printer or scanner”.
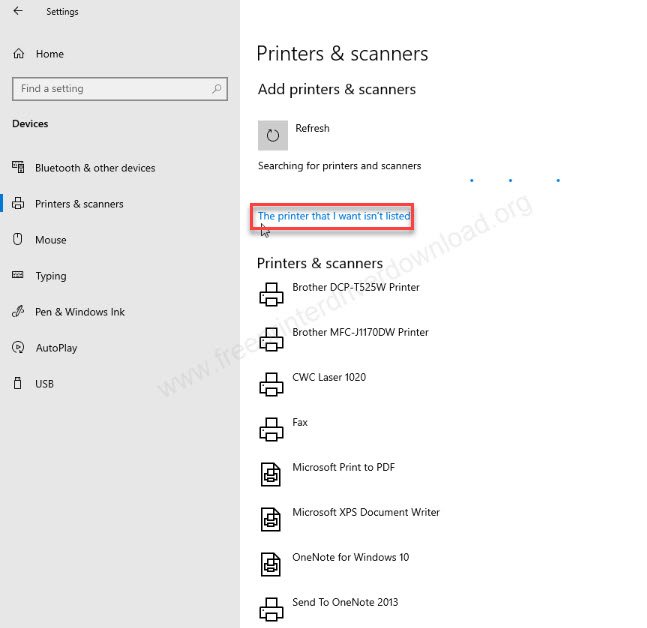
Step 6: Click on the link: “The printer that I want is not listed.”
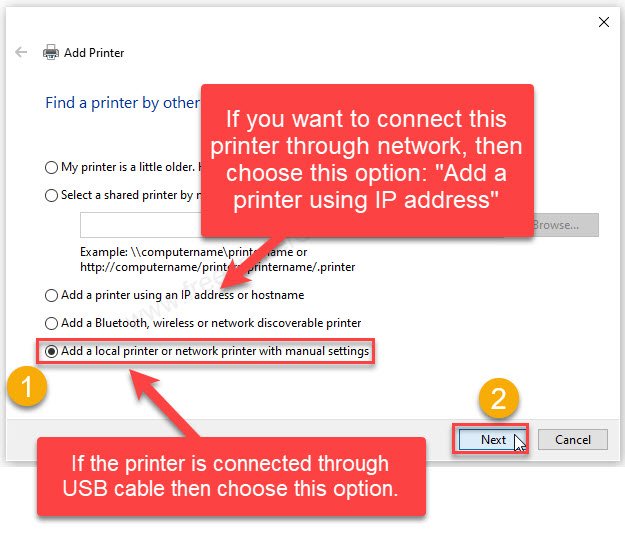
Step 7: Choose the last option: “Add a local printer” and then click on Next.
Step 8: Choose the port USB001 and then click on Next.

Step 9: Click on “Have Disk”
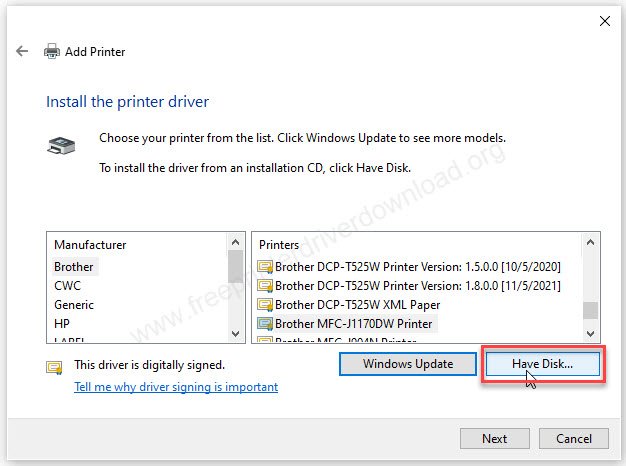
Step 10:
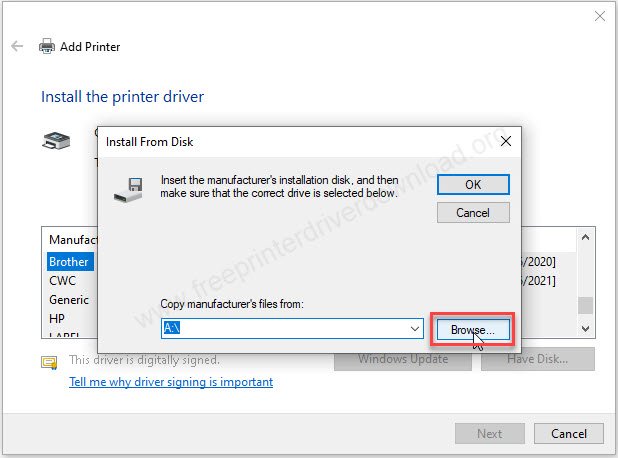
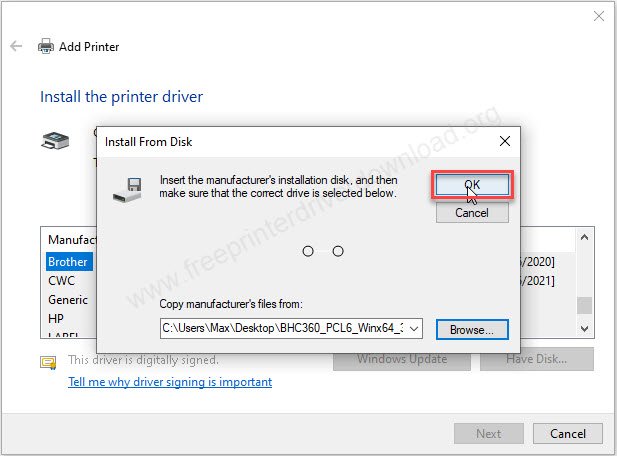
Step 11: Click on “Browse”.
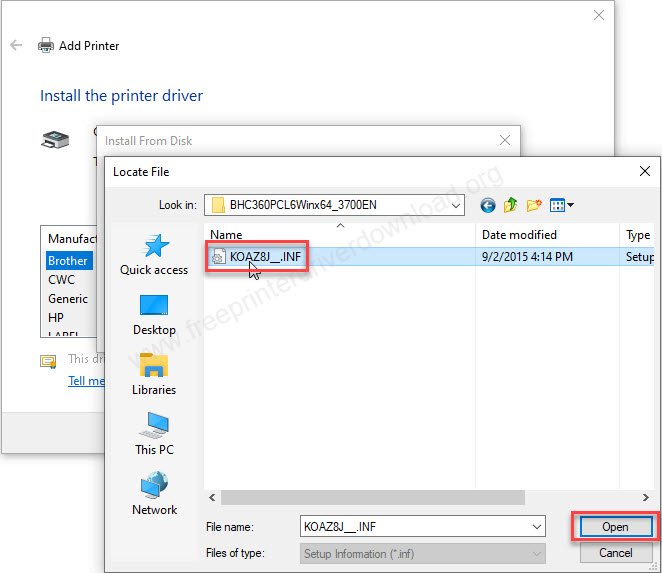
Step 12: Click on OK.
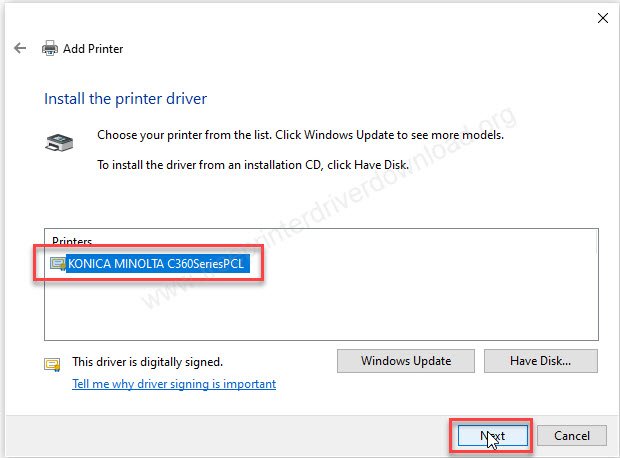
Step 13: Click Choose the model number: “Konica Minolta C360 Series PCL” and then click on Next.
Step 14: Click on Next.

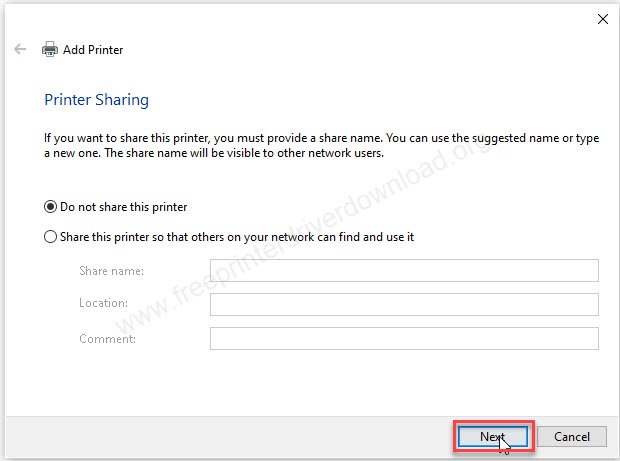
Step 15: Choose the first option: “Don”t share this printer” and then click on Next.
Step 16: Click on Finish.

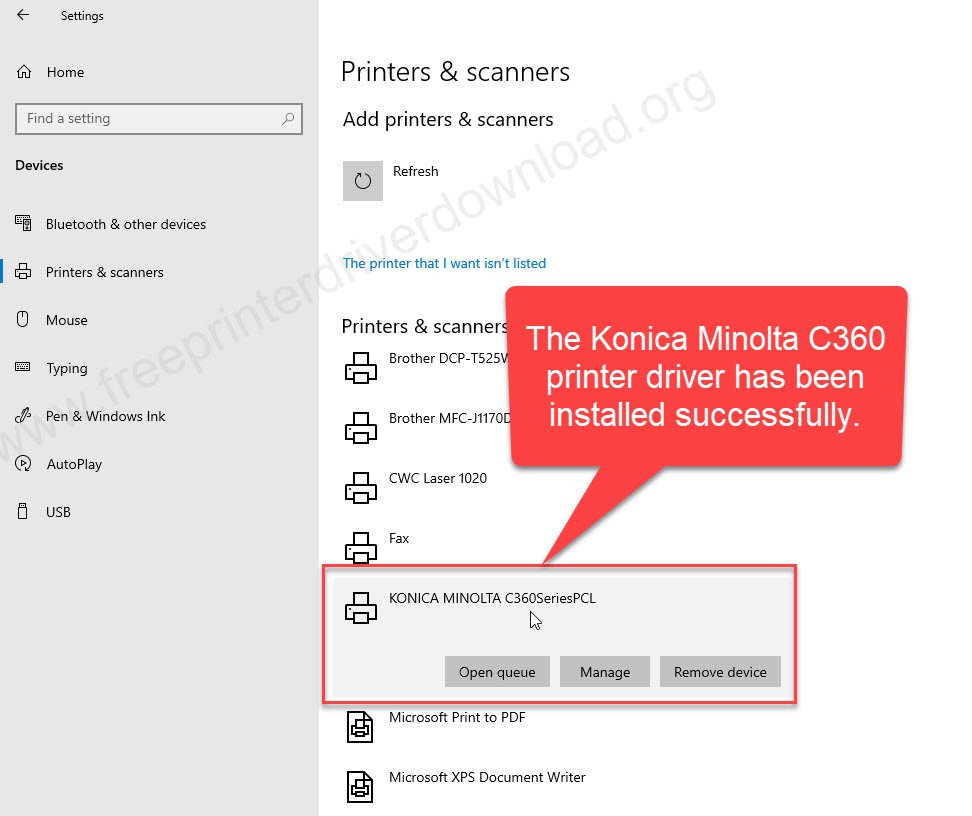
Step 17: The Konica Minolta Bizhub C360 printer has been installed sucdcessfully and listed to into the printers list and ready to print.
This is how you can install Konica Minolta Bizhub C360 printer on a PC. I hope you will also install your printer as well. Please share your experiences in the comments section below.