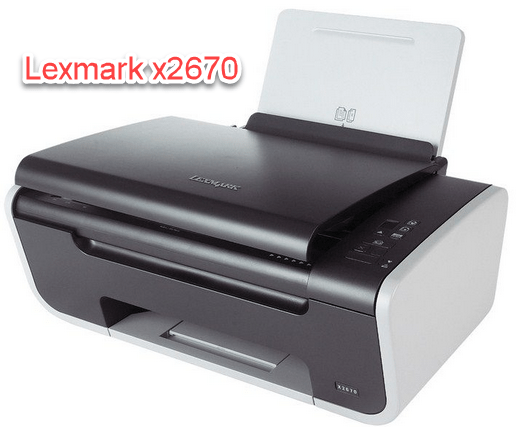
Lexmark x2670 is an all-in-one printer that is able to print, scan and fax. To use all these features you’ll have to install its driver and software properly on your computer. We have given the driver the download link below – in the download section. It has a printer and scanner driver in the combo driver pack.
Driver Download Links
| Driver Description | Download Link | |
| Lexmark x2670 Driver for Windows XP, Vista (32bit) | 84 MB | Download |
| Lexmark x2670 Driver for Windows XP, Vista (64bit) | 132 MB | Download |
| Lexmark x2670 Driver for Windows 7 (32bit) | 1.46 MB | Download |
| Lexmark x2670 Driver for Windows 7 (64bit) | 2.59 MB | Download |
| Lexmark x2670 Driver for Windows 8, 8.1, 10, 11 (32bit/64bit) | 62 MB | Download |
| Basic Driver for Windows All (32bit/64bit) | 62 MB | Download |
| Lexmark x2670 Driver for Server 2000, 2003, 2008, 2012, 2016, 2019, 2022 (32bit) | 84 MB | Download |
| Lexmark x2670 Driver for Server 2000, 2003, 2008, 2012, 2016, 2019, 2022 (64bit) | 132 MB | Download |
| Lexmark x2670 Driver for Linux and Ubuntu (32bit/64bit) | 29 MB | Download |
| Lexmark x2670 Driver for macOS 10.0 to 10.15, 11 Big Sur, 12.x Monterey | 33.6 MB | Download |
| Lexmark x2670 Driver for Android | App | Download |
| OR | ||
| You may download the same driver directly | from | Lexmark x2670 official website. |
How to install Lexmak x2670 printer driver
To install it on your computer, download the driver from above give download section according to your operating system version and then follow the following steps:
Step 1: Double-click on the downloaded cj2600en32.exe / cj2600en64.exe installer. It will start the installation process.
Step 2: Click on the install button
Step 3: Make a tick on “I agree” and click on continue.
Step 4: In the next window, it will ask you to select the Lexmark product you want to install along with the driver. Then select the products – tick on them and then click on continue.
Step 5: In the next Windows, select the option that you are installing this printer for the first time of reinstalling it and then click on continue.
Step 6: Click on continue again. Keep clicking on continue until the tutorial guide gets finished. Starts the driver installation.
Step 7: In this next screen, it will ask you to connect the printer’s USB cable to the computer. So connect the printer to the computer and also make sure the printer is turned ON properly and then click on continue.
Step 8: Once you connect the printer, it will start installing the printer driver and software automatically, so let it be installed and then follow the on-screen instructions to complete the installation.
Step 9: That’s it.