
Printmark PMS2031dw is a single function laser printer along with auto-duplex feature so that you can get both side printing feature without flipping the page. This printer can connect with the computer using WiFi, USB and Ethernet. All these connections need a driver which have to install it on the computer so that your computer can communicate with the printer and can give you print commands.
Therefore, I am giving the driver download link in the download section below. You just need to download the driver according to the version of your operating system and then install it on your computer. After downloading the drivers, you will need to install it on your computer properly. In order to install it properly, you just need to follow the below given step by step guide which is also given beneath the download section. So, let’s start the installation process by downloading the drivers first.
Download Printmark PMS2031dw Printer Driver
To download the Printmark PMS2031dw drivers, you need to know the exact version of your operating system and then click on the download link accordingly. This printer supports: Windows 11, 10, 8, 8.1, 7, Vista, XP (32bit / 64bit), Server 2000 to 2025, Linux, Ubuntu, and Mac 10.x, 11.x, 12.x, 13.x, 14.x Sonoma, macOS 15 Sequoia operating systems.
OR
Alternatively, you may download the same drivers directly from Printmark’s official website.
How to Install Printmark PMS2031dw Printer Driver
After downloading the driver, you should know the proper method to install this printer on a computer. That’s why I am going share a step by step installation guide. Carefully follow the following steps.
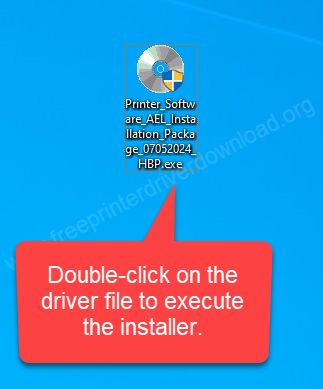
Step 1: Double-click on the driver file to execute the driver installer.
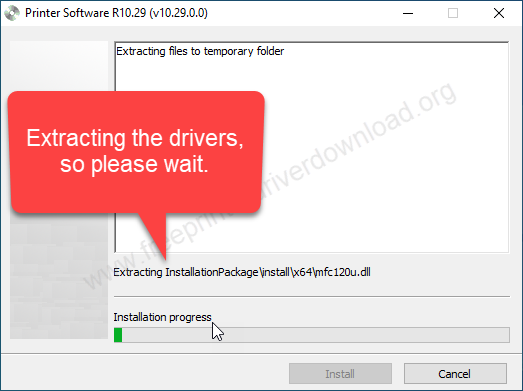
Step 2: Extracting the drivers, so please wait.
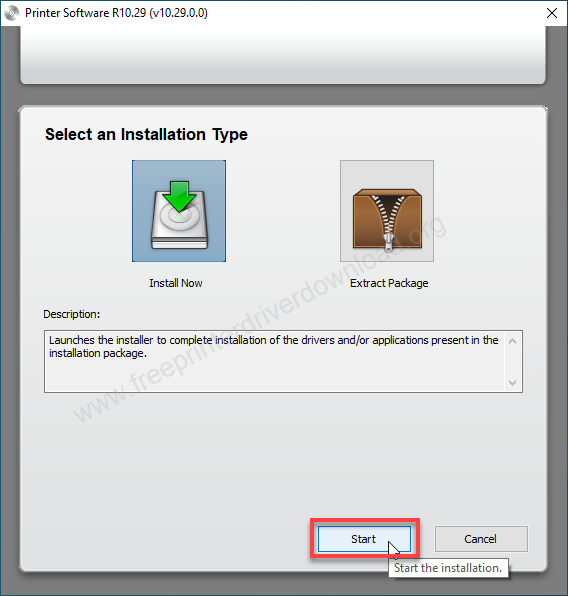
Step 3: Click on the start button to execute the installer.
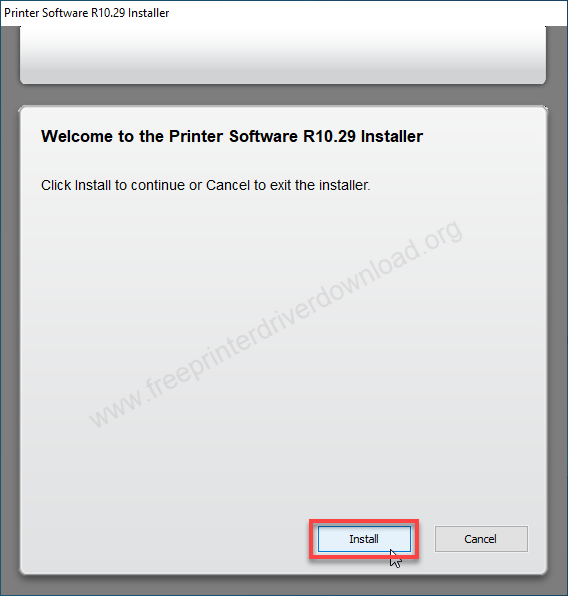
Step 4: Click on Install button.
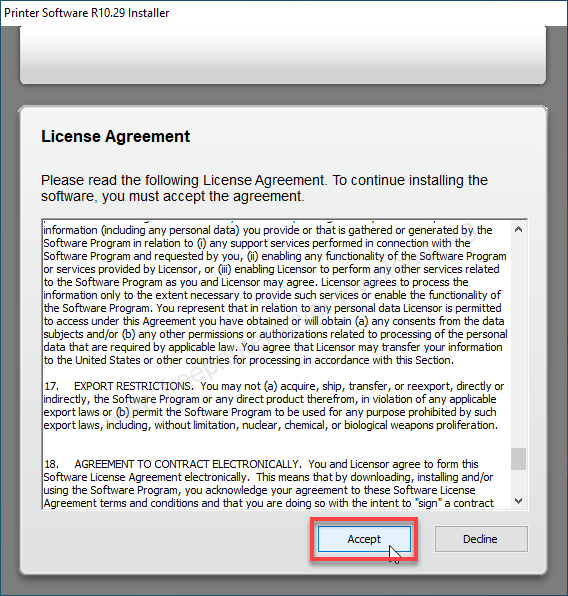
Step 5: Click on the accept button.
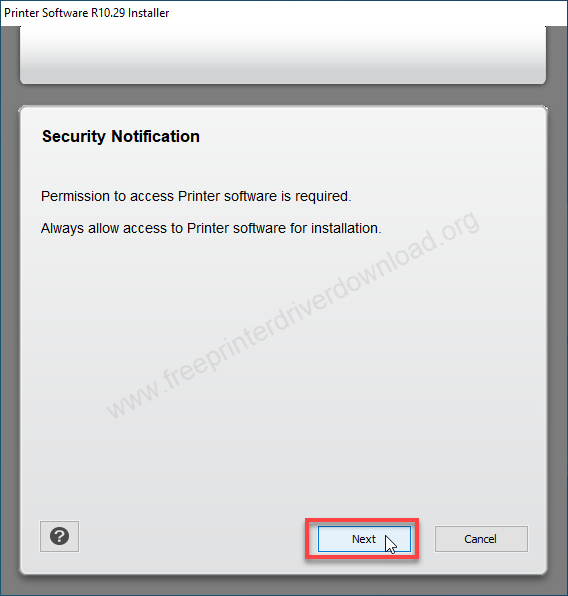
Step 6: Click on Next.
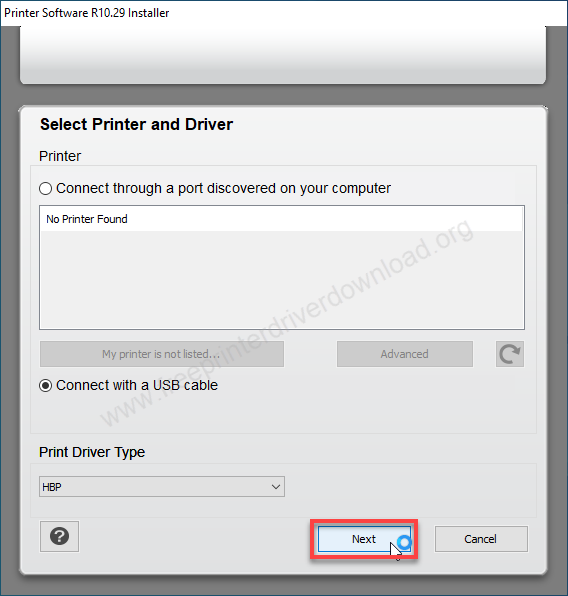
Step 7: Select the USB and then click on Next.
Step 8: It is installing the drivers, so please wait.

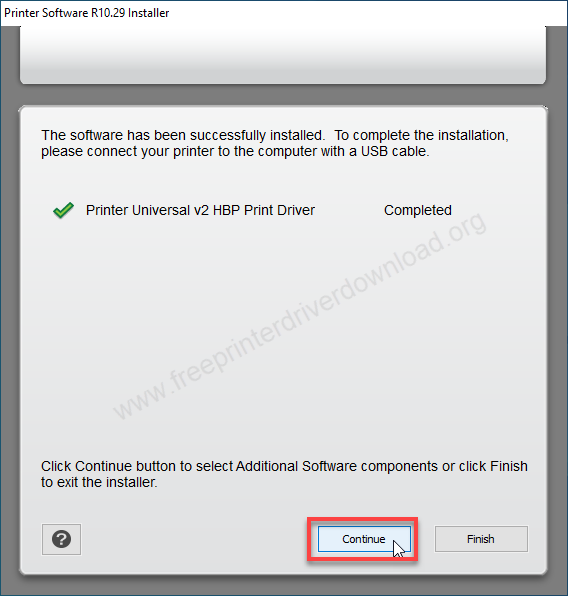
Step 9: Click on continue to get more options to install the additional software.
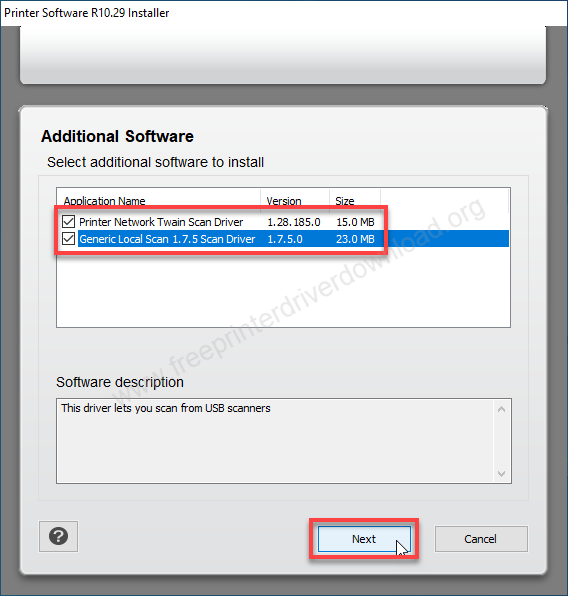
Step 10: Select the preferred software and then click on Next.
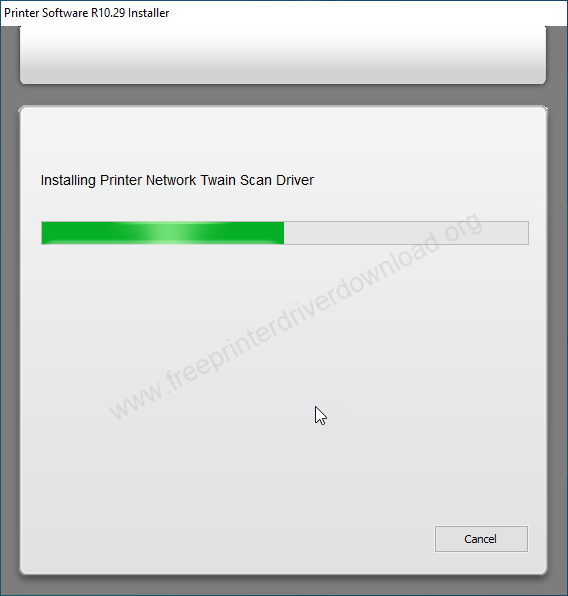
Step 11: Installing the additional software.
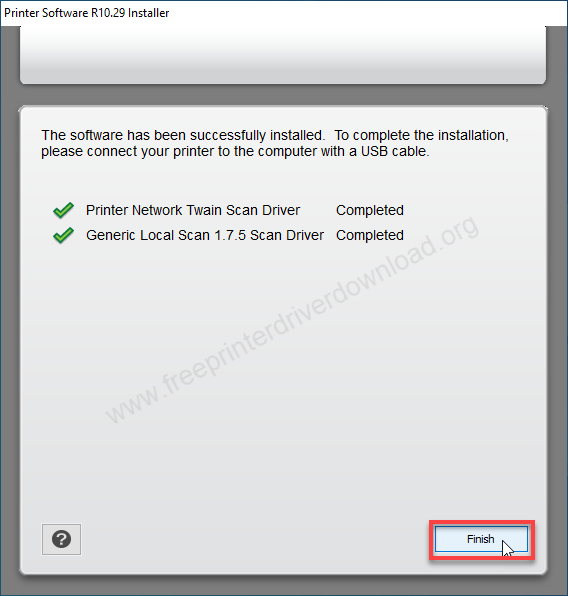
Step 12: Click on Finish to complete the installation process. The printer Printmark PMS2031dw has been installed successfully.
Hopefully you have got an idea of how to install this printer on a computer. I have tried installing it on my Windows 10 64bit OS but you can install it on Windows 11, 8, 8.1, 7, Vista, XP, Server and other OS as well. Steps sould be the same but the steps location might vary.
Specifications
This Printmark PMS2031dw printer is a laser printer with single functionality. It is a black and white printer. It uses toner cartridges that can print 1200 pages in one refill. It has an auto duplex feature so that you can print both sides of the paper without flipping the papers. This printer uses a 1 GHz dual core processor and 256 MB of memory built in. It also has 2 lines of black & white LCD display. The printer comes with a 1 year warranty.
The maximum print speed of this printer is 34ppm with 1200 dpi resolution. This printer supports A4, A5, B5 and envelope printing. It has one input paper tray that can hold 250 pages at a time and an output tray that can also hold 150 pages at a time. It has one more input tray which is called bypass tray.
The noise level of this printer is 53 dBA while printing and the dimensions of this printer are: Height : 216mm, Depth 355mm and the depth is 332mm. The total weight of this printer is around 7 KG.
There are three connectivity options to connect this printer to a computer: WiFi, USB and Ethernet (LAN). Windows 11, 10, 8, 8.1, 7, Vista, XP (32bit & 64bit), Server 2000 to 2025, Linux, Ubuntu, Mac 10.x, 11.x, 12.x, 13.x, 14.x, macOS 15 Sequoia Operating Systems. drivers which will be required in order to install this printer on a computer.


