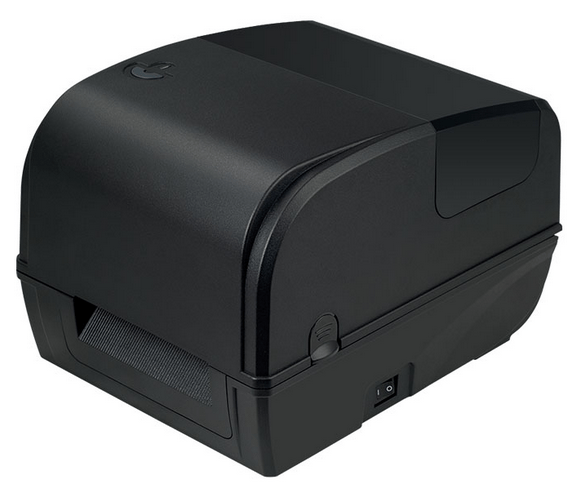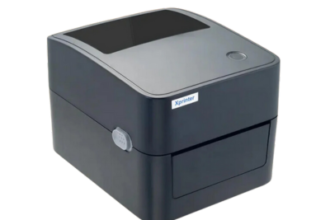
Xprinter XP-C230 and C260K both are thermal printer which comes with USB, Serial and LAN connectivity options. Both printers are very identical with minor changes both use the same card (mother board), that is why both use the same drivers. If you are looking to download its driver, then you will have to download the driver from the below given download section. After that, also read the step-by-step process to install this printer on a computer. So let’s start by downloading the drivers.
Download Xprinter XP-C230 / C260K Printer Driver
In order to download the driver, you just have to know the version of your operating system and download the same driver from the list below accordingly.
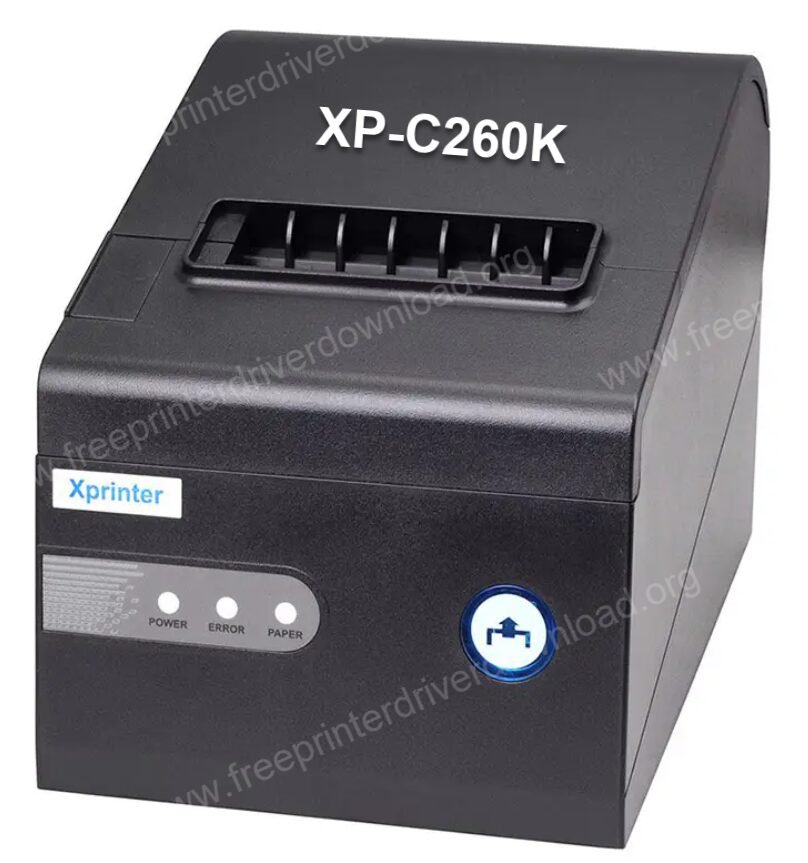
Driver for Xprinter XP-C260K Printer
Type: Full feature driver Operating System: Windows 11, 10, 8, 8.1, 7, Vista, XP, Server 2000 to 2025 File Size: 1.6 MB Version: 1.6 Download DriverOR
Alternatively, you can download the same driver from the Xprinter’s official website.
How to Install Xprinter XP-C230 / C260K Printer Driver in Windows
To know the complete process to install this printer on your computer, follow the following steps to install it.
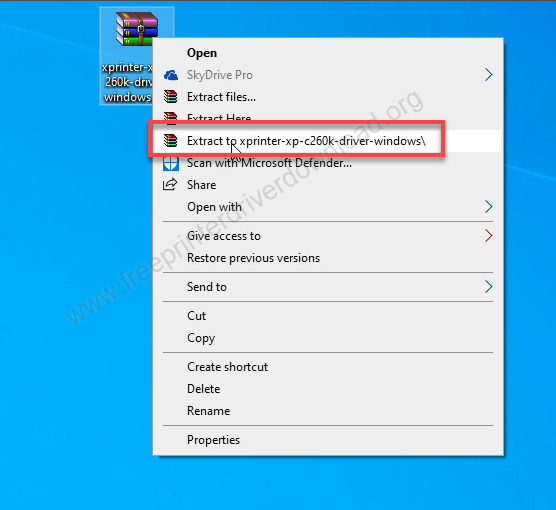
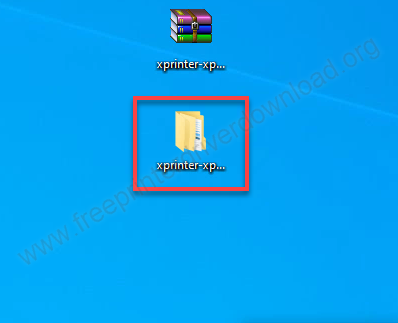
Step 1: Right-click on the printer driver and click on extract to.
Step 2: It will extract all the drivers into a folder. Open up this folder.
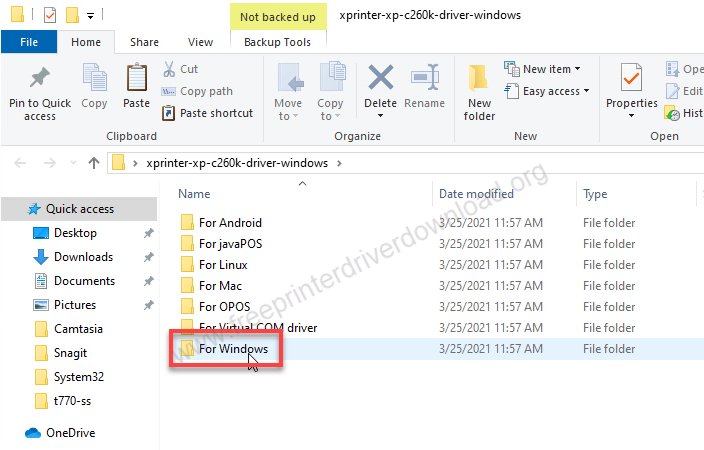
Step 3: Open the “For Windows” folder.
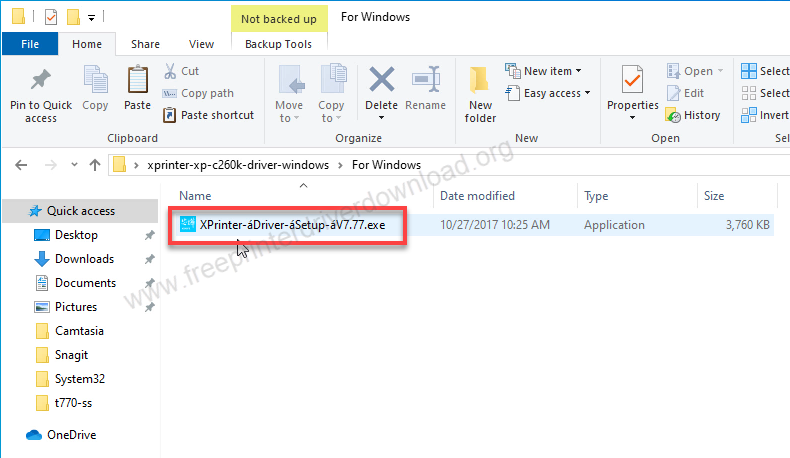
Step 4: Execute the “XPrinter-eDriver-ssetup-v7.77.exe” file.
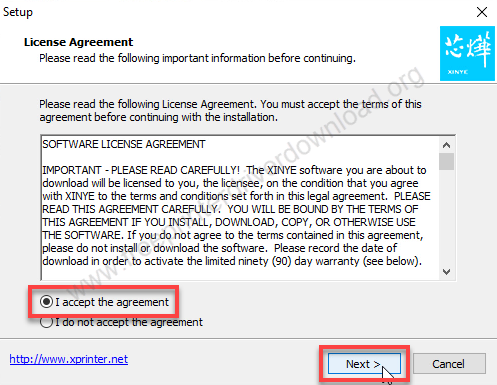
Step 5: Tick the checkbox “I accept” and then click on Next.
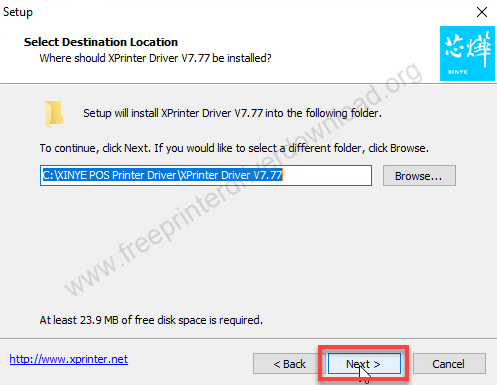
Step 6: Click on Next.
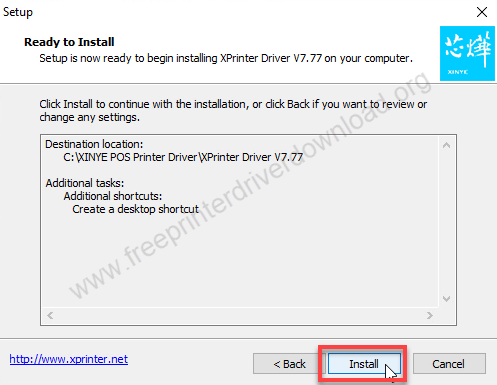
Step 7: Click on Install. It is ready to install the drivers.
Step 8: It is installing, please wait.

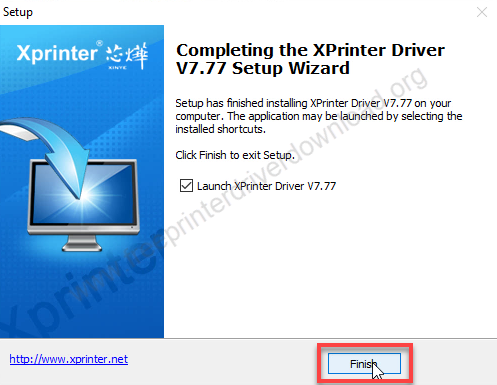
Step 9: Click on Finish.
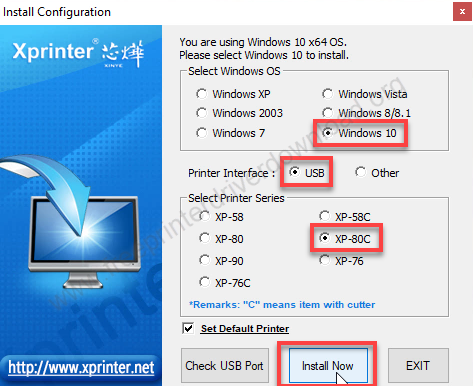
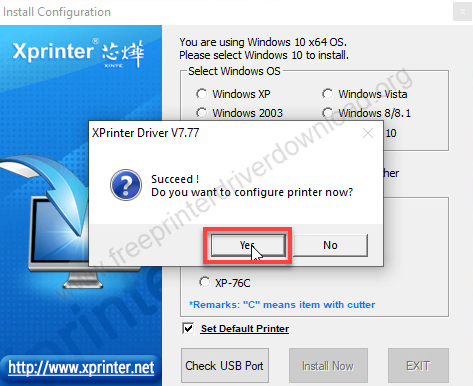
Step 10: Select the operating system version and connection type for the USB and then click on Install. Select the printer series “80C” and then tick the check box: “Set Default Printer” and click on install now.
Step 11: Click on yes and then configure the printer port.
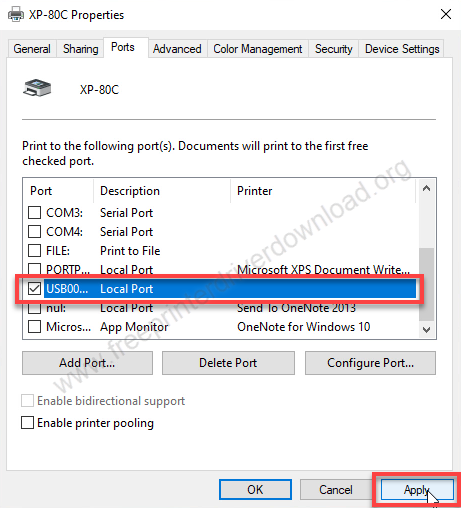
Step 12: Select the preferred printer port and then click Apply.
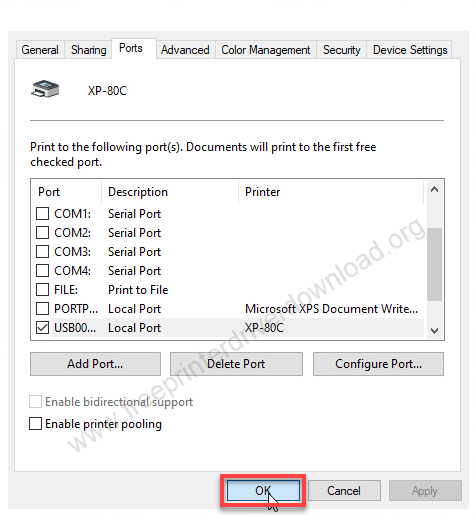
Step 13: Click on OK. After that, the printer will be installed successfully.
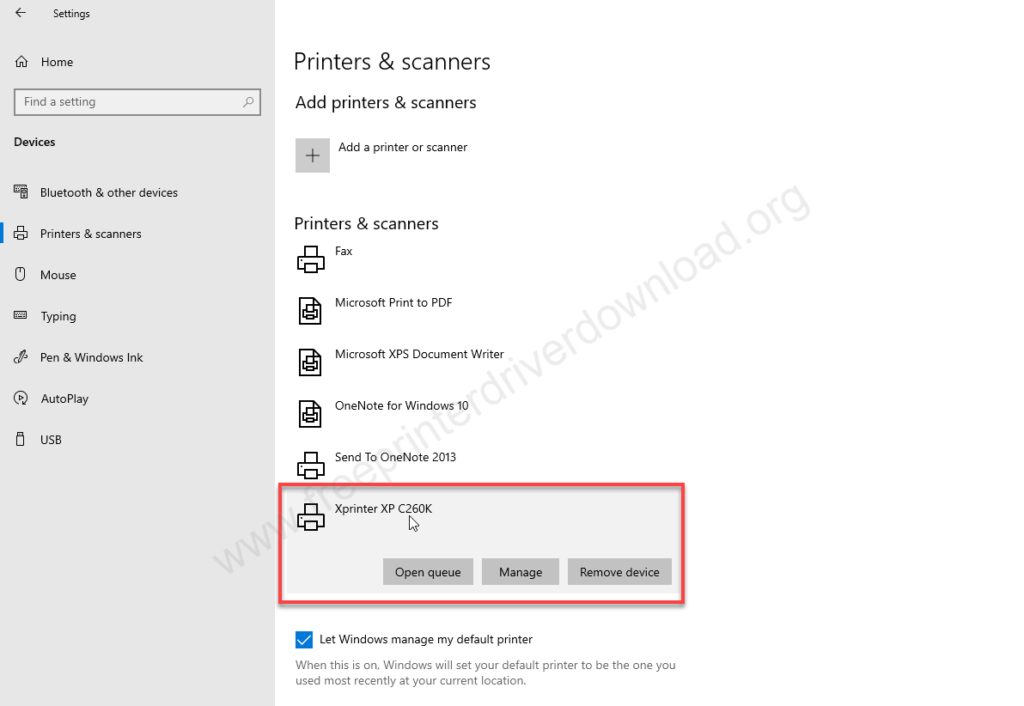
Step 14: Open up the printer page, you’re printer will be installed successfully with the name “XP 80C”. Rename the printer to “Xprinter XP C260K” and it will be ready to print.
This is how you can install Xprinter XP-C230 / C260K printer on Windows operating system. I have applied these steps on Windows 10, but you can follow the same steps on Windows 11, 8, or 7 as well. The options might look slightly different in those versions.
Specifications
The printing method of this printer is direct thermal technology and the print speed is very good: 300MM per second. The maximum printer page width is 80 MM. Column capacity is 576 dots per line and the line spacing is 3.75 mm It can be adjusted by the command. It comes with an auto cutter feature which works well. The Autocad Life Fan is 1.5 million cards And the print head life when is 150 kilometer page.
It supports D1 Barcode and D2. It has a tiny memory in the input buffer 2048 kilobyte and flash is 250 KB. This printer is compatible with the ECS and POS software.
It’s very easy to use this printer. Loading the paper in to it is very easy. It is waterproof, oilproof and dust proof. It has a print prompt and error notification feature so that you can get notified when the alarm blows. There’s a black market action and reprint function that can make you feel more comfortable. This printer supports most of the latest operating system like Windows 11 Windows 10.