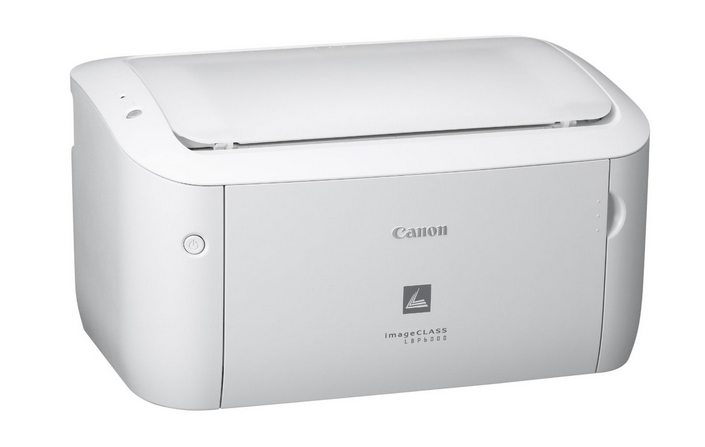
Canon imageCLASS LBP247dw is a wireless monochrome heavy duty printer. This printer has lots of useful features like print, scan and Fax. To use all the features through your computer – means giving print commands, scanning and setting up the printer settings. You need to install the latest version driver on your computer. If you have its software CD, you can use it, otherwise you may download the latest version driver from the download section given below. After downloading, go to the Installation section given below where I have explained how to properly install this Canon LBP247dw printer on a computer. So, let’s start by downloading the drivers first.
Download Canon imageCLASS LBP247dw Printer Driver
In order to download the Canon imageCLASS LBP247dw printer driver, determine the version of your operating system and then click on the below given download link accordingly. This printer supports: Windows 11, 10, 8, 8.1, 7, Vista, XP (32bit / 64bit), Server 2000 to 2022, Linux, Ubuntu, and Mac 10.x, 11.x, 12.x, 13.x, 14.x and 15.x OS.
OR
Alternatively, you may download the same drivers from Canon’s official website.
How to Install Canon imageCLASS LBP247dw Printer Driver
To properly install this driver, read the following step-by-step instructions. You will get the proper guidance with screenshots.
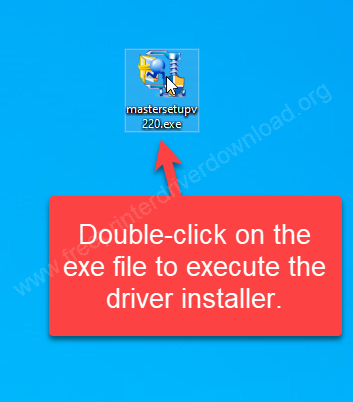
Step 1: Double-click on the driver “masterseupv220.exe” file to execute the driver installer.
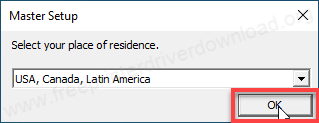
Step 2: Select the preferred language and click on OK.
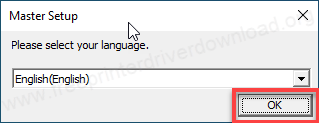
Step 3: Choose the preferred language and then click on OK.
Step 4: Splash the screen.

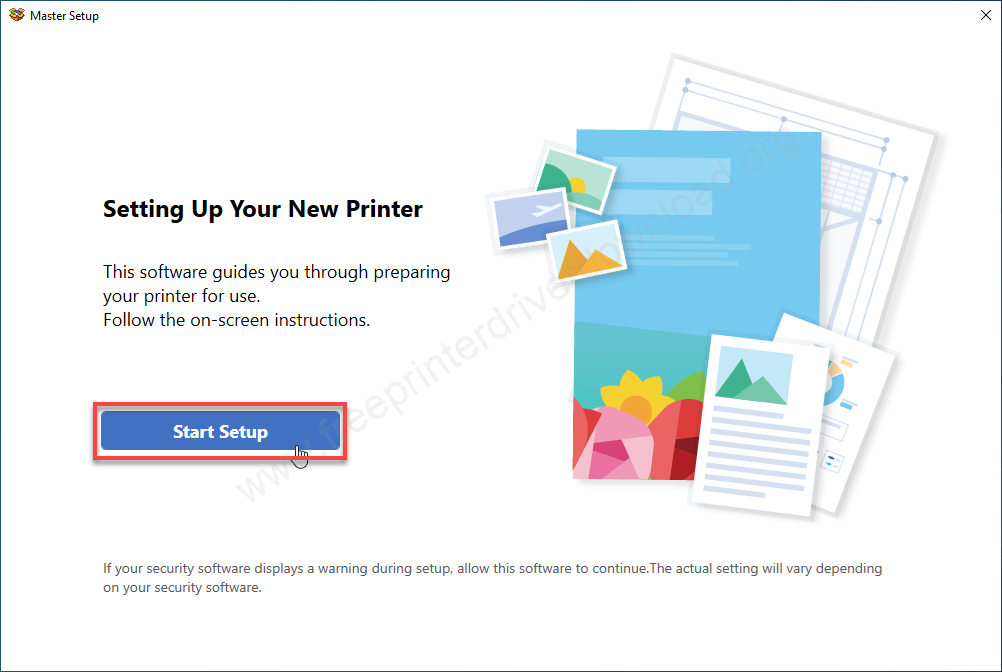
Step 5: Click on start setup button.
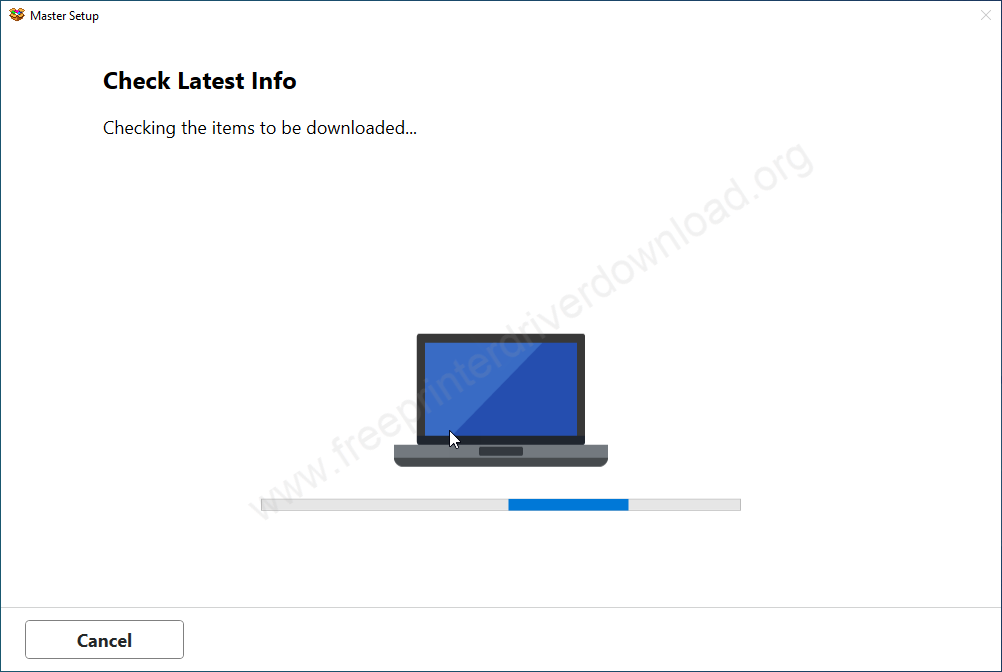
Step 6: Wait for the check.
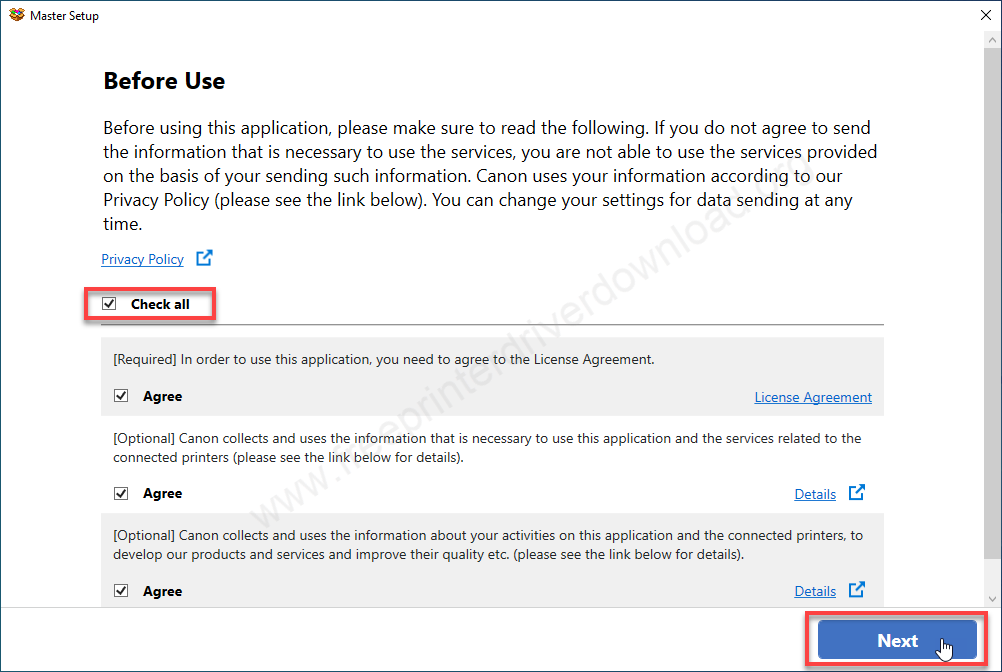
Step 7: Click on “Check All” and then click on Next.
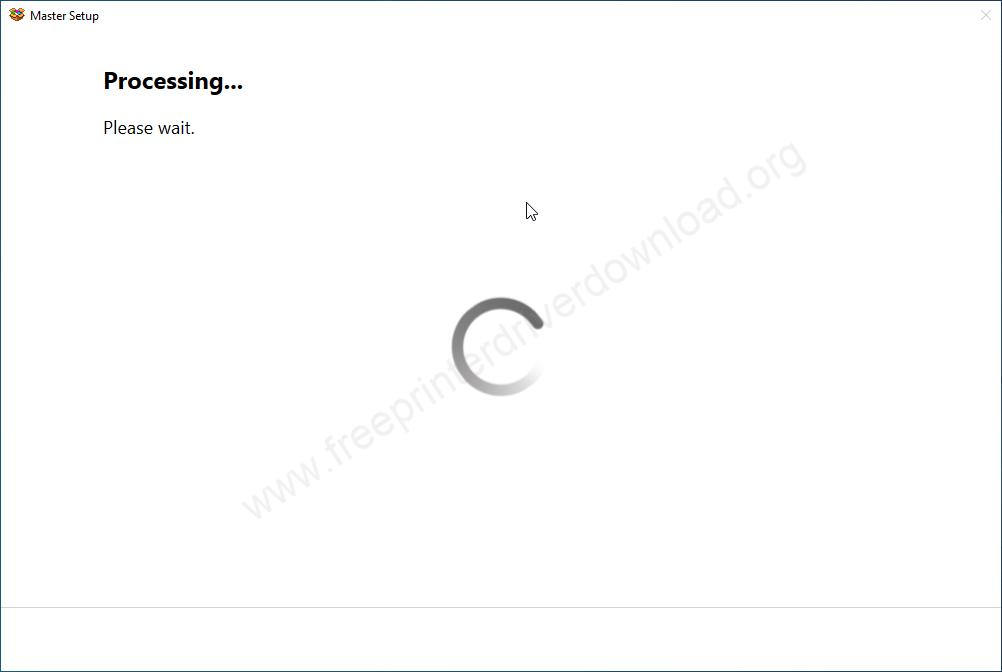
Step 8: Please wait while processing.
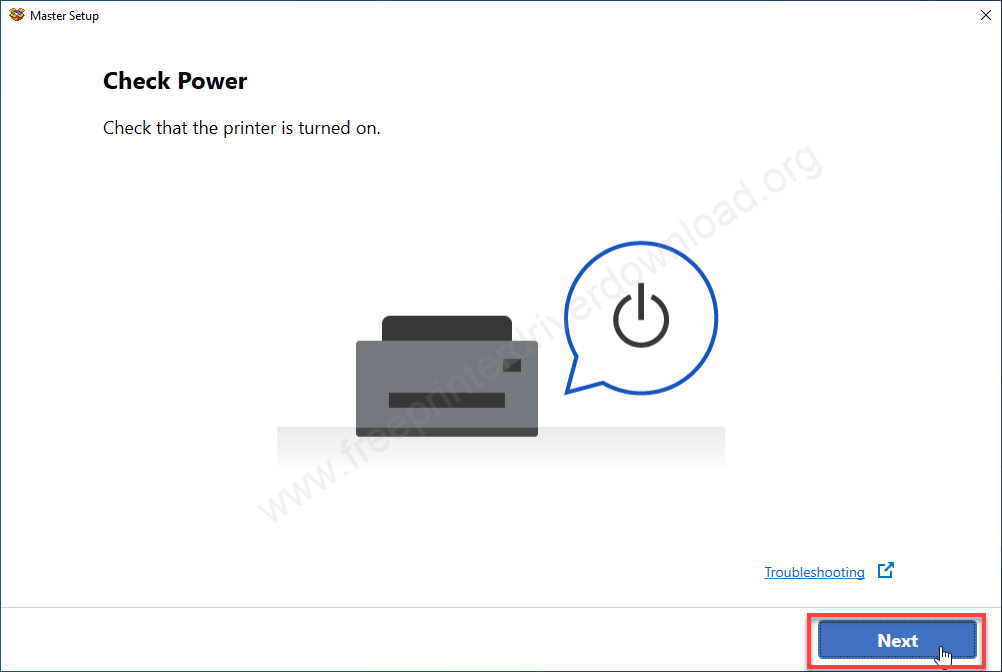
Step 9: Please make sure to turn on the power button.
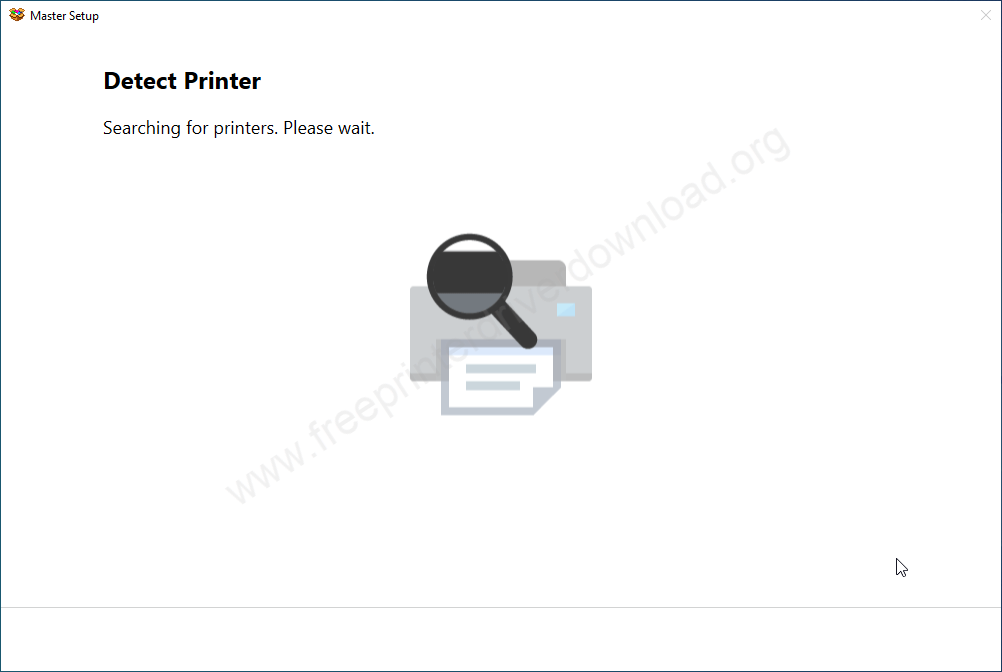
Step 10: Print is being detected, so please make sure the printer should be connected to the WiFi router or connect the printer’s USB cable to the computer.
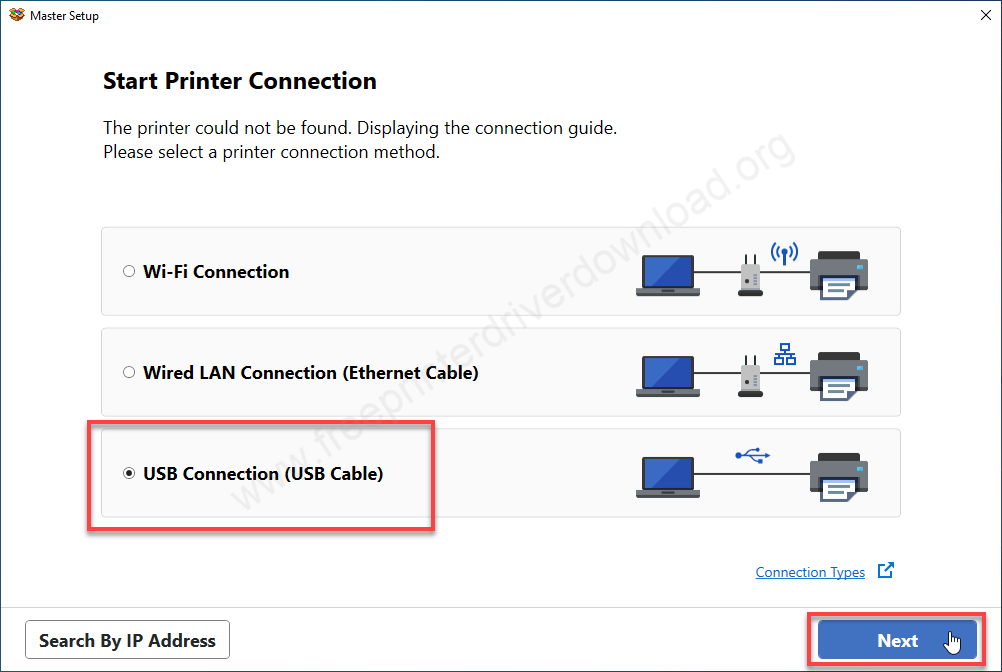
Step 11: Prefer your connection type and then click on Next.
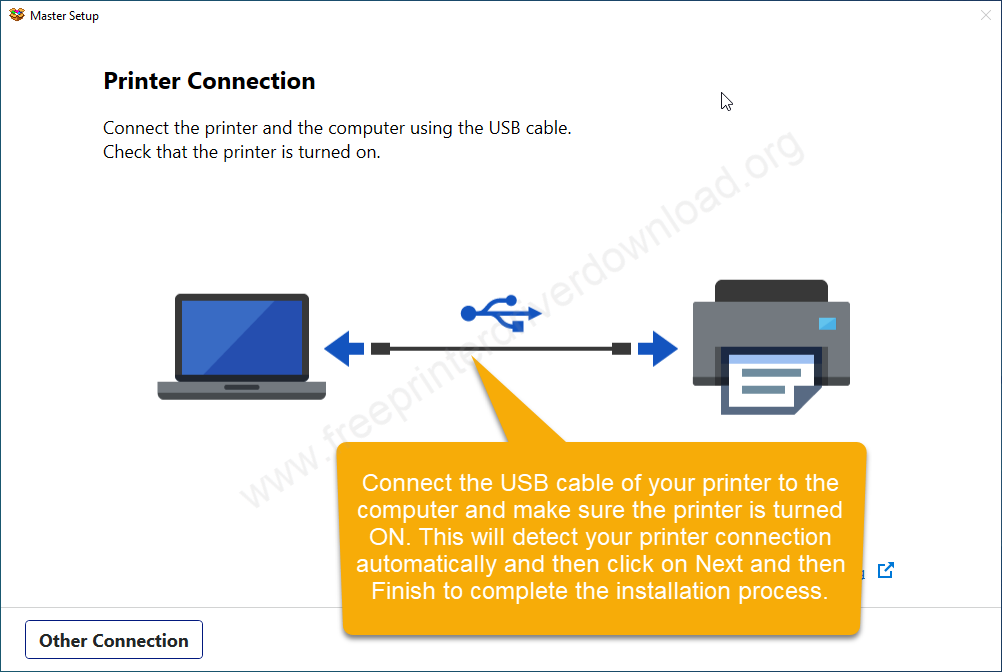
Step 12: Now the installer is asking to connect the printer to the computer and make sure the power button is turned ON.
This is how you can install the Canon imageCLASS LBP247dw printer without any hassle. I have installed this printer on my Windows 10 64bit OS but you may install the same steps on your Windows 11, 8, 8.1, 7 OS. Location of the option may differ but the steps would be same.
Specifications:
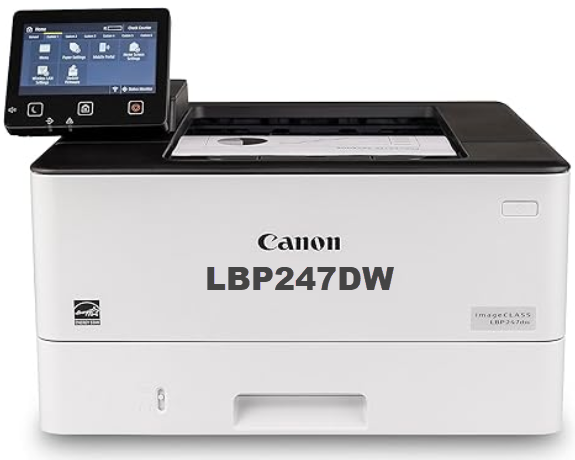
Canon im LBP247dw is a black & white laser printer. The main attraction of this printer is a big 5 inch display which is situated on the top of the printer to navigate the printer settings and operations easily. And the second one is its print speed, which is extremely good 42 pages per minute with 600dpi resolution. This printer has memory of 1GB.
There is one input paper drawer where all the input papers are kept. It also has a multi-purpose tray on the side of this printer where you can use multiple sizes and types of paper. It has one output tray which can hold 150 pages per minute. There is one more unique feature – auto-duplex which gives you the option to get the prints on both sides of the paper without flipping it, it is such a very good feature.
There is a separate power supply to power on this printer. The printer consumes 0.9 watts of power in sleep mode. The dimensions of this printer are: Width: 438mm, Depth: 373mm, Height: 312mm. The total weight of this printer is 9.2 KG.
This printer has three connectivity options to connect this printer to your computer: Wireless (WiFi), Ethernet (Lan) and then last one is USB connectivity. Through WiFi or ethernet you can easily setup this printer on your local network. The very stable connectivity is USB one. To setup this printer on your computer or local network, you will require is the latest version driver then it should be proerply installed on your computer.